Month: January 2021

  • Guide: How to Allocate Additional RAM to Minecraft

    Plus some tips on to how much RAM to allocate

    This post is considered out of date. This may be for a number of reasons, for example: the information may be out of date, the topic may be irrelevant now, or simply that the post is quite old but I wanted to keep the history.

    Minecraft is a very memory hungry game, and allocating more RAM can have a positive impact on performance. Here is a quick how-to guide.

    Minecraft and RAM: Like a kid in a Candy Shop

    But the kid is Minecraft and the candy is RAM

    Minecraft is written in Java, which is an extremely powerful and versatile programming language, but it loves to hoard and use RAM. By default Minecraft only uses up to 2GB of RAM, which can hinder performance. One of the easiest ways to increase performance is to allocate more RAM to Minecraft. This will be a short guide to tell you how. First you will need to know how much RAM you currently have in your system, if you already know this skip ahead to the Allocating Memory section.

    Checking in Windows

    Open the Task Manager with Ctrl + Shift + Esc and look in the Performance tab under Memory.
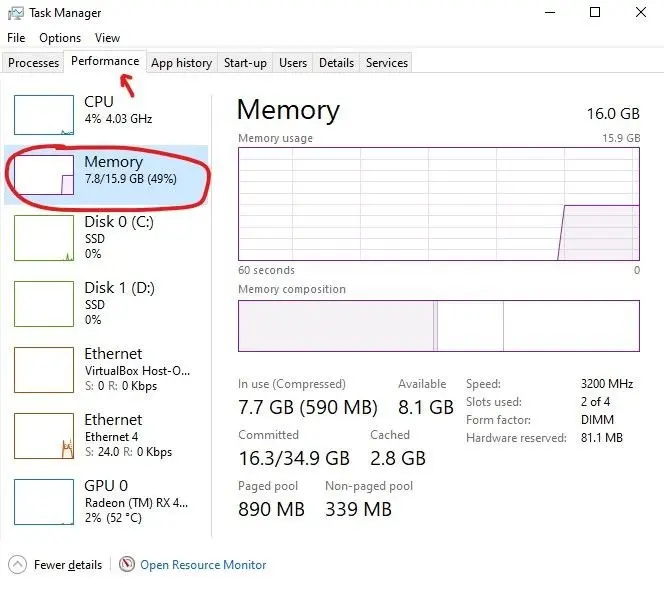
    The number on the right of the / is your total system memory.

    Checking in MacOS

    Open the Activity Monitor and click Memory. From there find Physical Memory, that should give you your total system memory.

    Allocating Memory

    • How much should I allocate?

    The answer to that question varies system to system based on the amount of RAM installed and how much is free for Java to use. The table below is a pretty good place to start though. Find your System RAM and then determine what performance level you would like. You can always go back and adjust after.

    How do I do it?

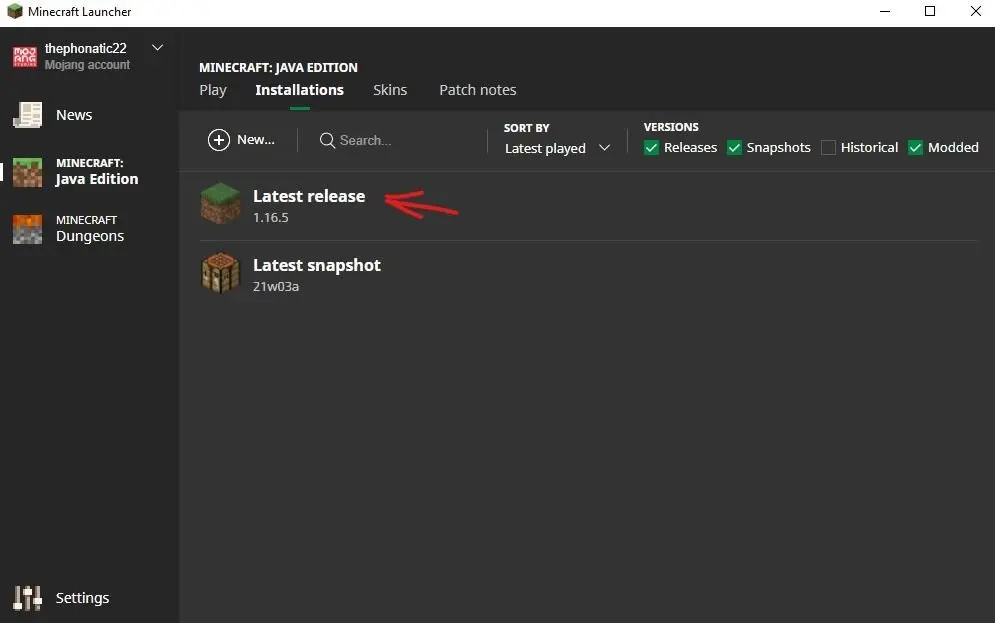
    Open the launcher as normal and don’t click anything just yet.
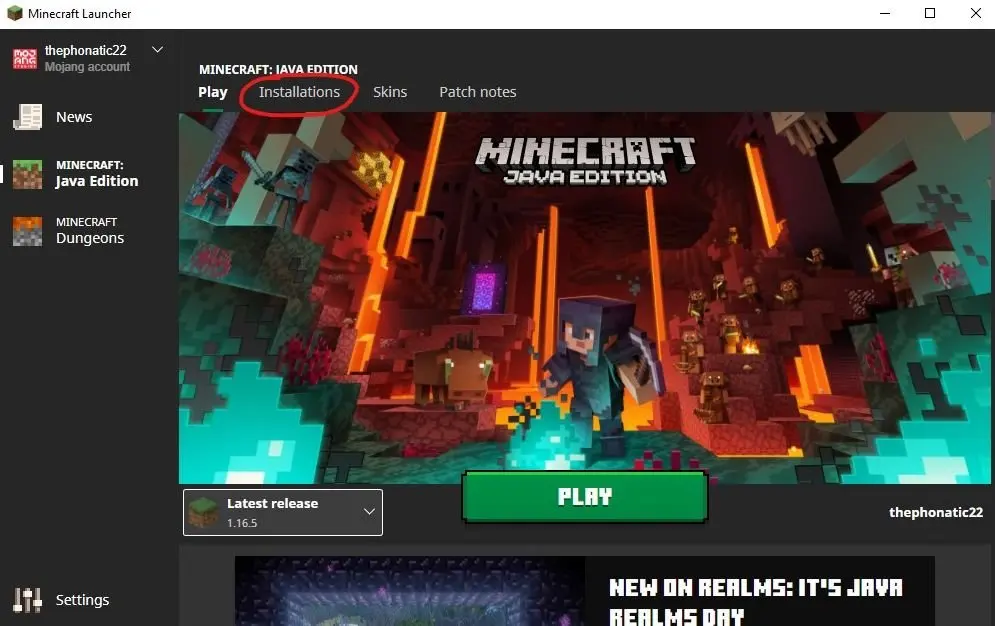
    This will likely be called Latest Release
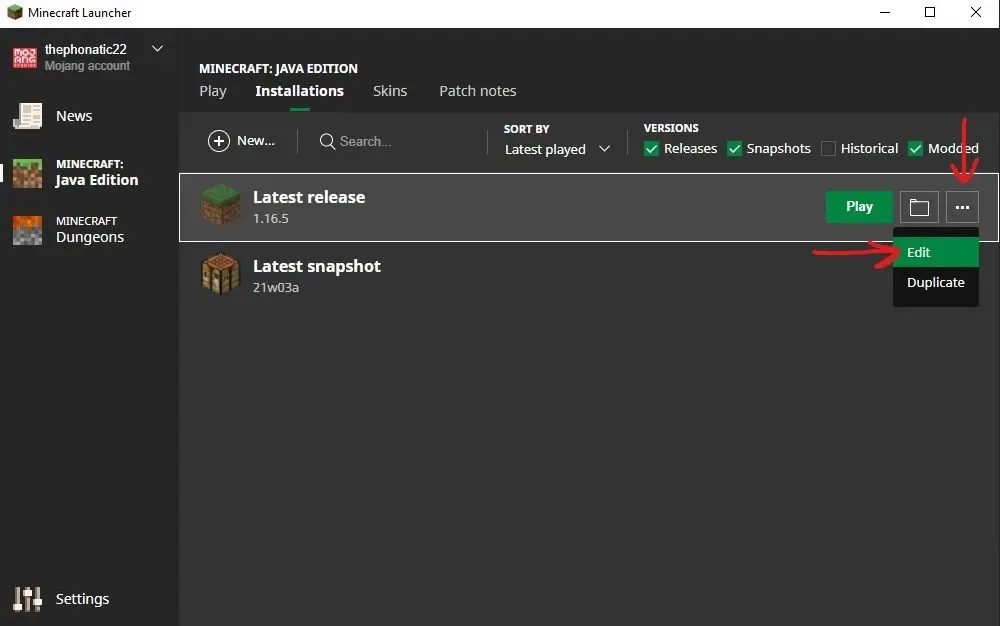
    Open menu and click Edit
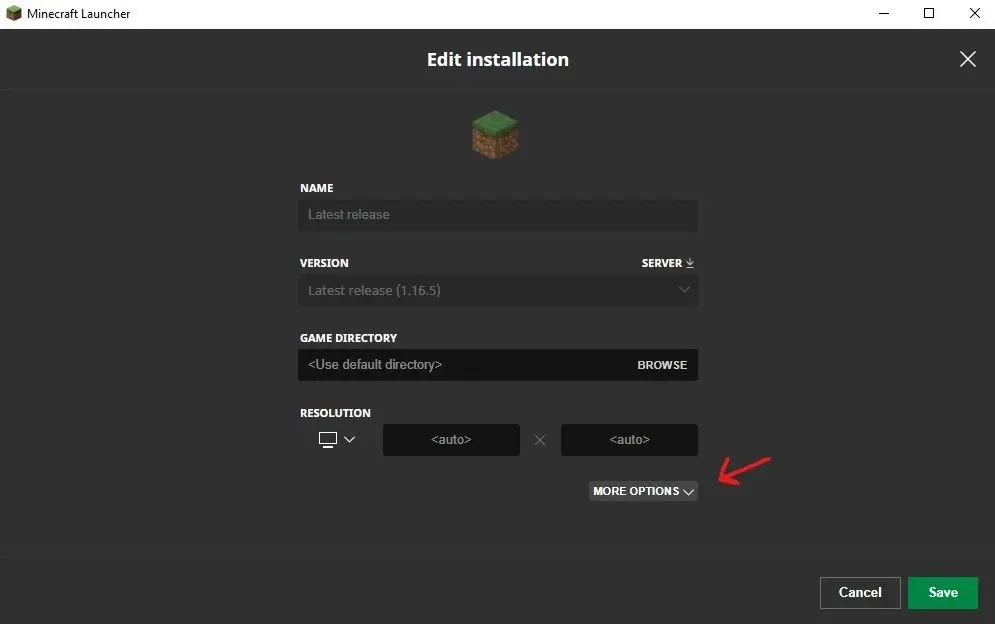
    Expand the options and find JVM Arguments
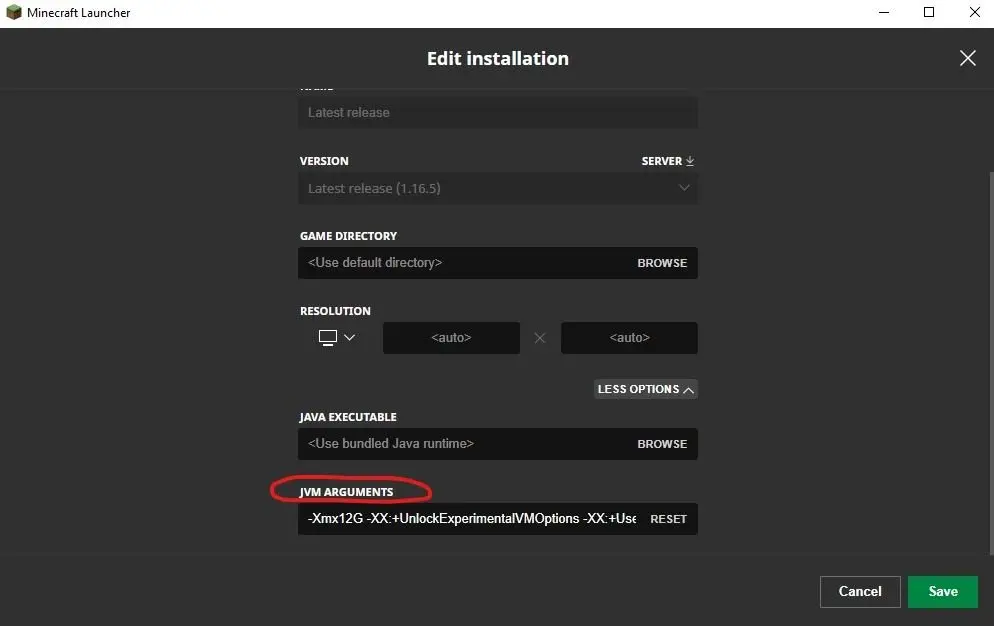
    I have mine set to 12GB already, but it will likely say 2GB

    Replace the 2G after -Xmx with whatever amount of RAM you decided to allocate. For example if I were to allocate 12GB of RAM like I have already done I would simply type 12G and that would be all.

    To verify that the RAM has been allocated launch the game and join a world or server and press F3 to open the debug menu.
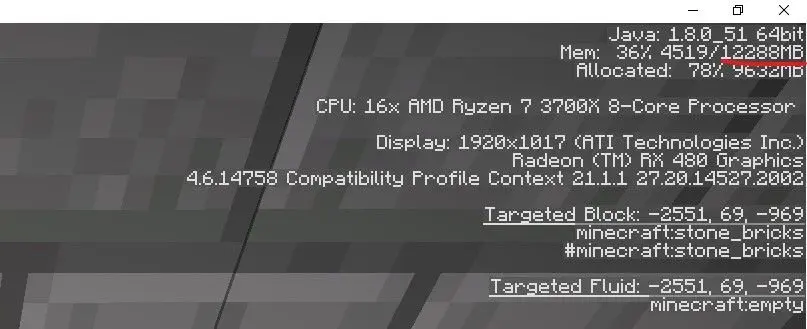
    Multiply the GB value you entered earlier by 1024 and it should be the same as the number after the /. If it is, your allocation change has worked!


    Congratulations, you have successfully allocated more RAM to Minecraft, hopefully netting you more frames in the process. Now go mine those crafts.
  • Navigating Between Minecraft Servers

    One address to rule them all

    This post is considered out of date. This may be for a number of reasons, for example: the information may be out of date, the topic may be irrelevant now, or simply that the post is quite old but I wanted to keep the history.

    Usingย Waterfallย Velocity, a Minecraft server proxy, you only need one address to be able to connect to multiple servers.

    How to get between Minecraft Servers?

    Using the new configuration I have combined all servers under one address and port so there is no need to have multiple TNTable servers in your list. I discuss the specifics later. For now I will just give you the commands to get around. They are also really easy to find on the server. At any time start typing “/server” and a list of autocomplete suggestions will come up with the available servers.

    • SMP
      • /server smp
    • UHC
      • /server uhc
    • Creative
      • /server creative

    Waterfall

    Waterfall is a fork on BungeeCord, a Minecraft server proxy. It takes BungeeCord and optimizes it further.

    Note from the future

    Waterfall is no longer being used, Velocity has replaced it. It provides the the same functionality with additional performance improvements.

    What is a server proxy and why do I care?

    A server proxy allows the addresses to be combined into one so that multiple servers are not needed in the list with multiple ports or extra configuration at a DNS level. Waterfall is advantageous for me as I can create additional servers and configure waterfall instead of worrying about additional ports needing to be opened and all the extra configuration that would otherwise be required. Travelling between servers is easy and it will remember which server you were in before logging out and place you back in there when rejoining.

    Joining

    The server address can be found in the TNTable Discord community. Ensure that you have given me your username before joining so that I may add your name to the whitelist. By default you will land in the SMP server but switching is a command away.

  • Building the New Server

    Building the New Server

    Server Upgrade 2020

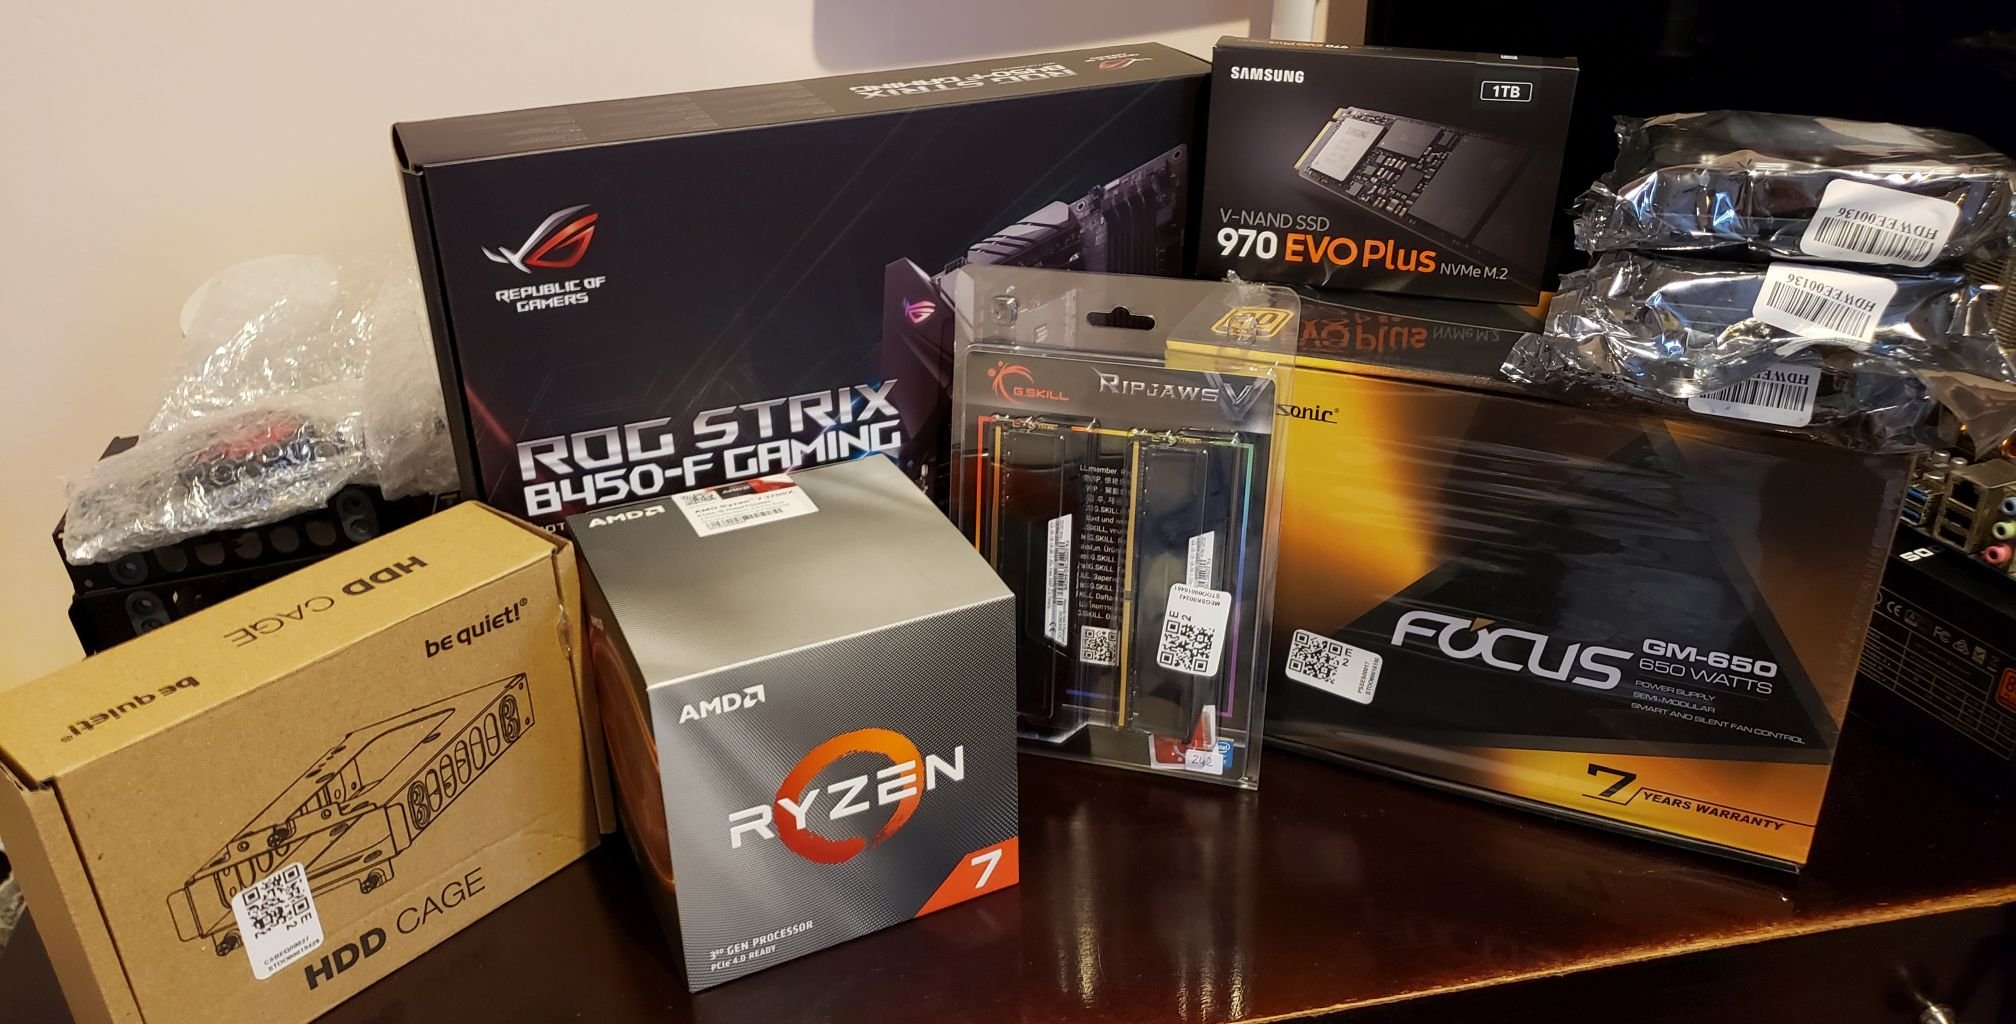
    A new server! Huzzah! I will take you through the experience of building the new server and setting it all up to run the Minecraft server. I talk about the components that went into the server as well as my rationale.

    Planning

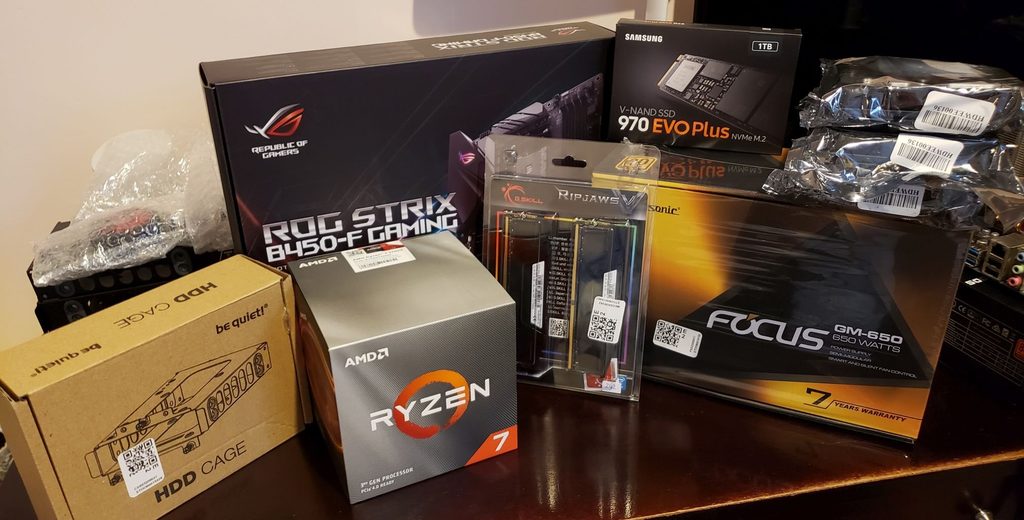
    This server upgrade has been planned for a few weeks now. Started with an ambitious goal to create a super server that could do it all, but then was reduced to an upgrade, but a significant one at that. The primary goal was to consolidate the two servers into one to make management easier and reduce power consumption. To make this happen I needed high-capacity hard drives for the media server component, an insane amount of RAM (I still wish I had more), and a super fast 1TB boot drive.

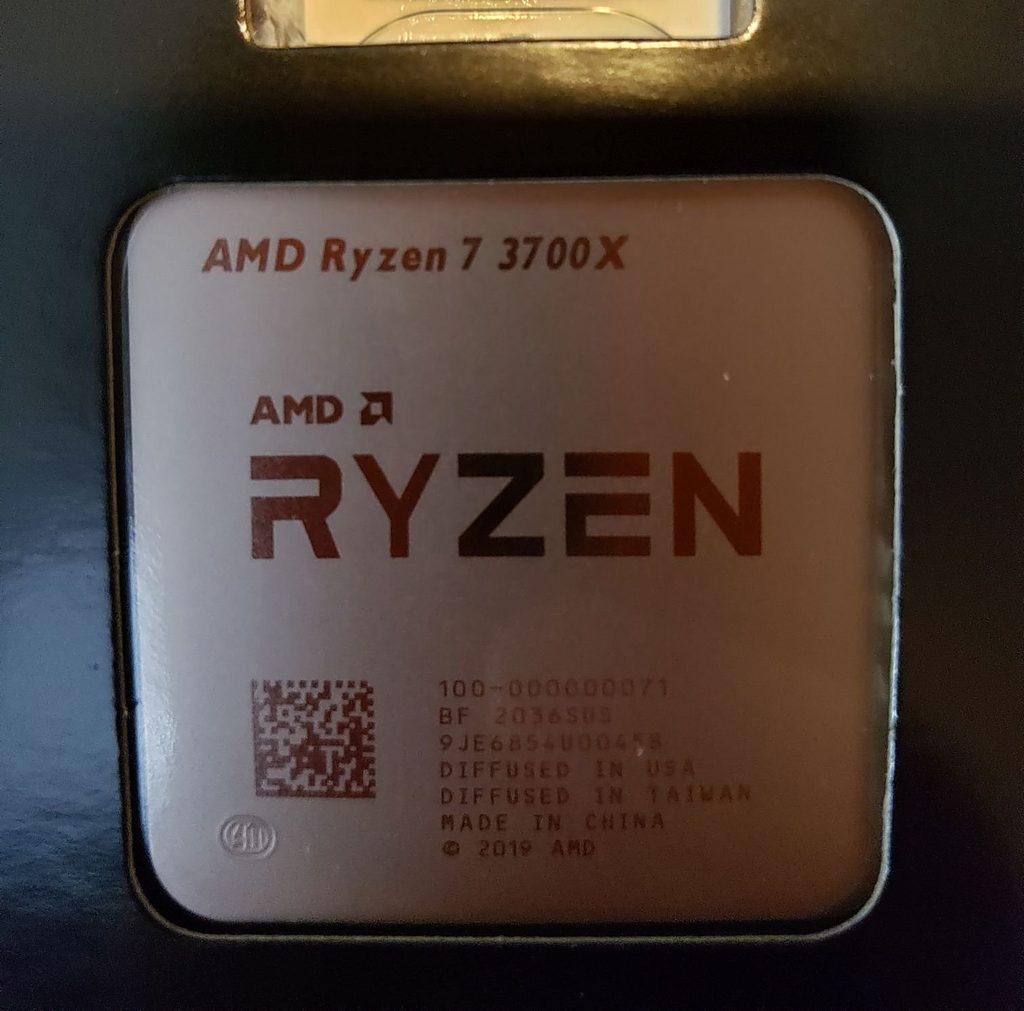
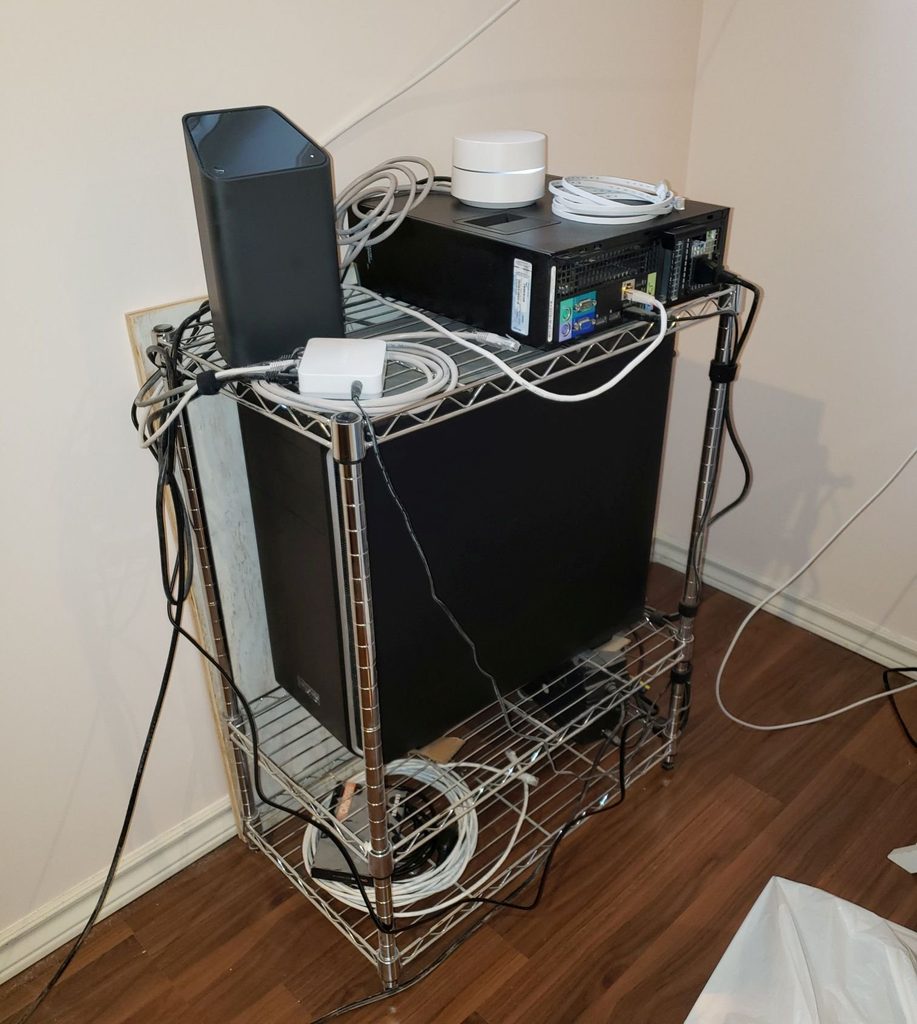
    The current setup is rather janky, see the image below. It consists of two computers, one rocking a 3rd gen i7 from 2014, and the other rocking an Athlon from that same time period. The smaller Dell server handles the media serving as well as all the game servers, while the larger box with the Athlon is the bulk storage. These are being consolidated with a complete rebuild and upgrade in the be quiet! Pure Base 600 with 3 6TB WD Red drives, a Ryzen 7 3700X and a 1TB Samsung 970 EVO Plus NVMe SSD. This should provided enough power to host game servers and host a media server all at the same time.

    The old server setup. It worked, but was not ideal.

    If you are interested in the specs seeย this postย where I announce the upgrade and discuss the parts.

    Dismantling

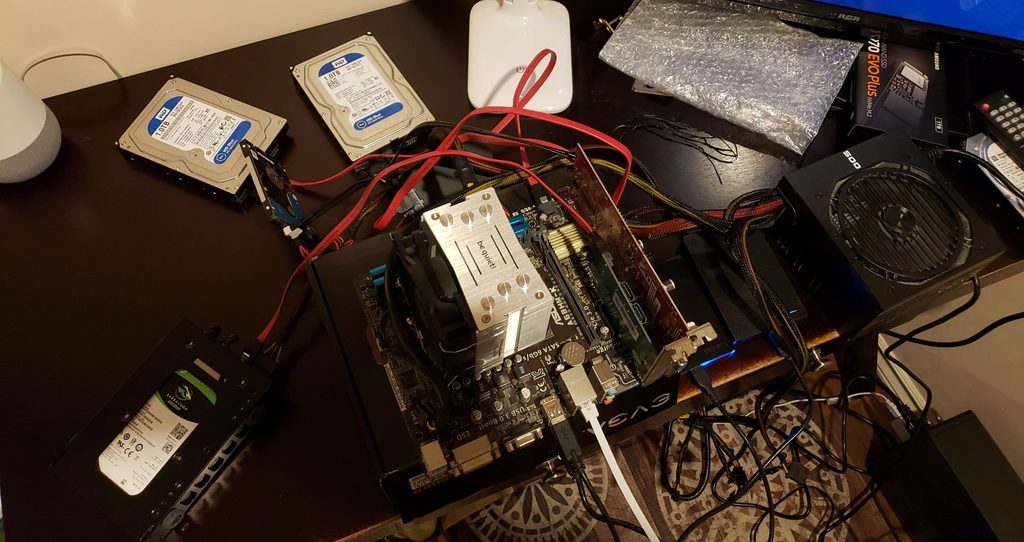
    The first step was to dismantle the computer in the case I needed. Thankfully I could do this with minimal impact to the Dell server so only the services that relied on the storage would be down. It was extremely dusty. I needed it to be out of the case to build the new server in it, but I also needed it to run to get the data off. The result is what I like to call the jank bench.

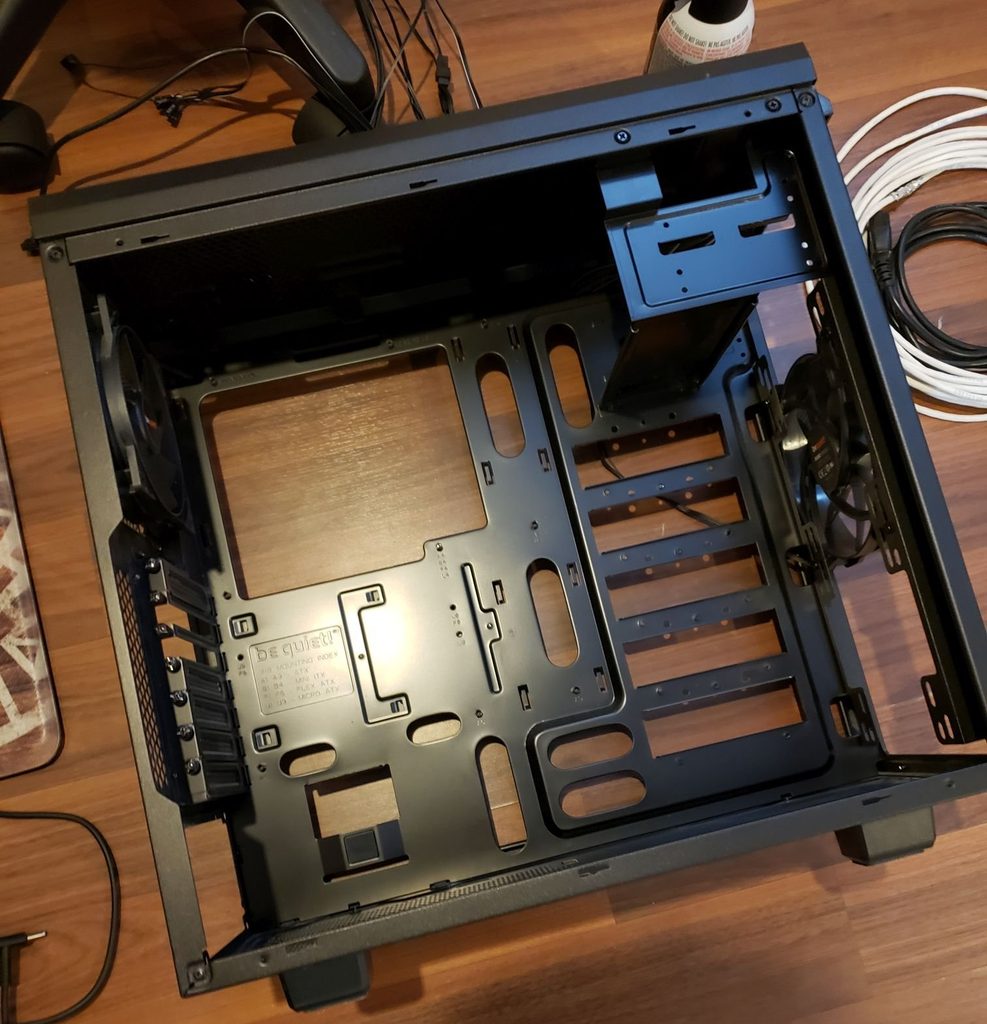
    Took the old components out of the case since I am reusing the case. It needed a good clean.

    Cleaning

    Like I mentioned, the case was extremely dusty, as well as all the parts. I did not care so much about the parts but the case needed a good cleaning. I got to work with compressed air, a vacuum and a microfibre cloth.

    Drywall mud dust got everywhere, even with plastic sheets.

    Looks brand new again. Used to be covered in dust like above. Not great for a computer.

    Building/Upgrading

    The new residents of the be quiet case.

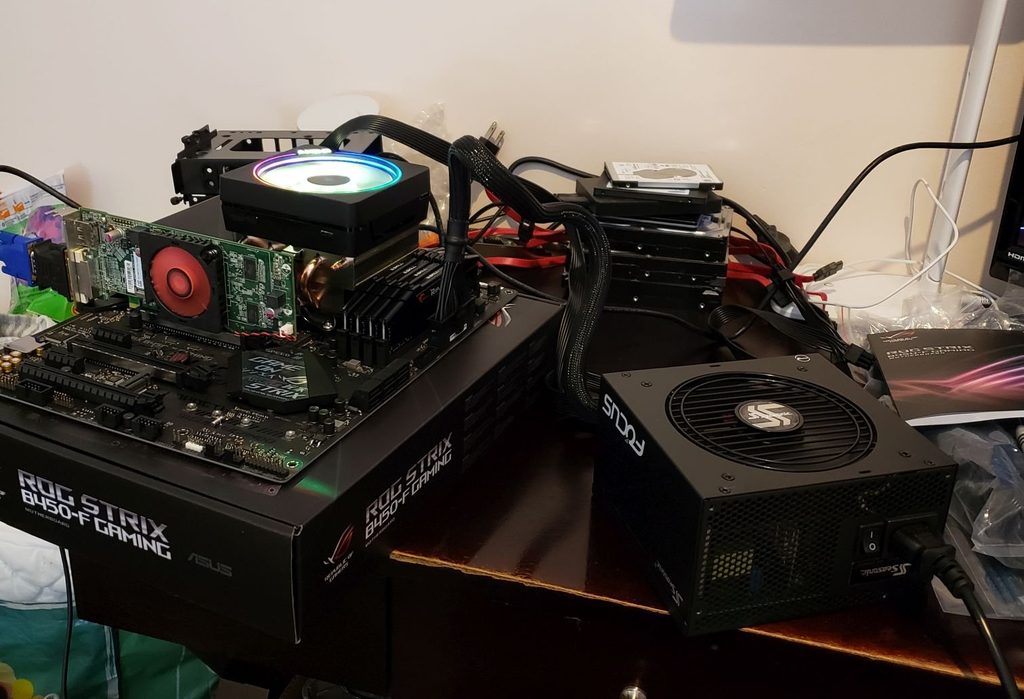
    First step was to assemble the new server outside the case to ensure everything worked.

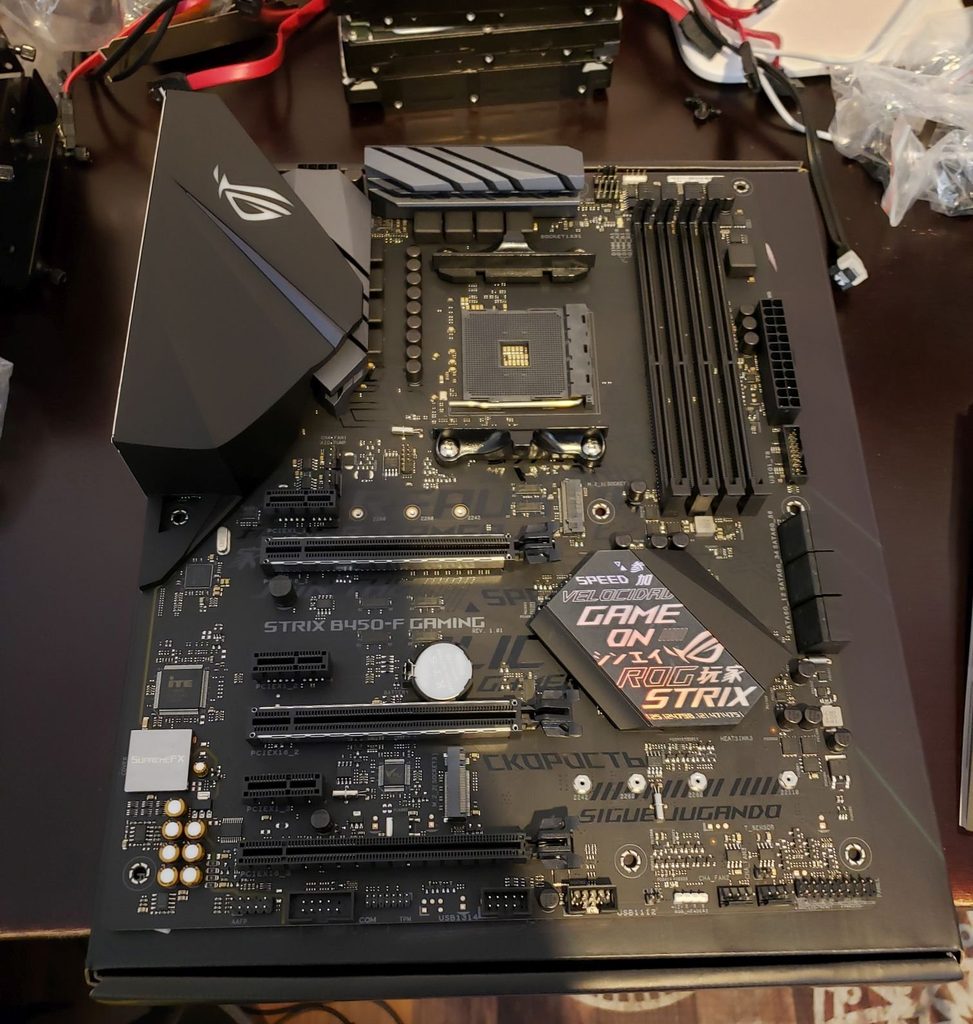
    Motherbaord out of and on top of the box. On a non-conductive surface.

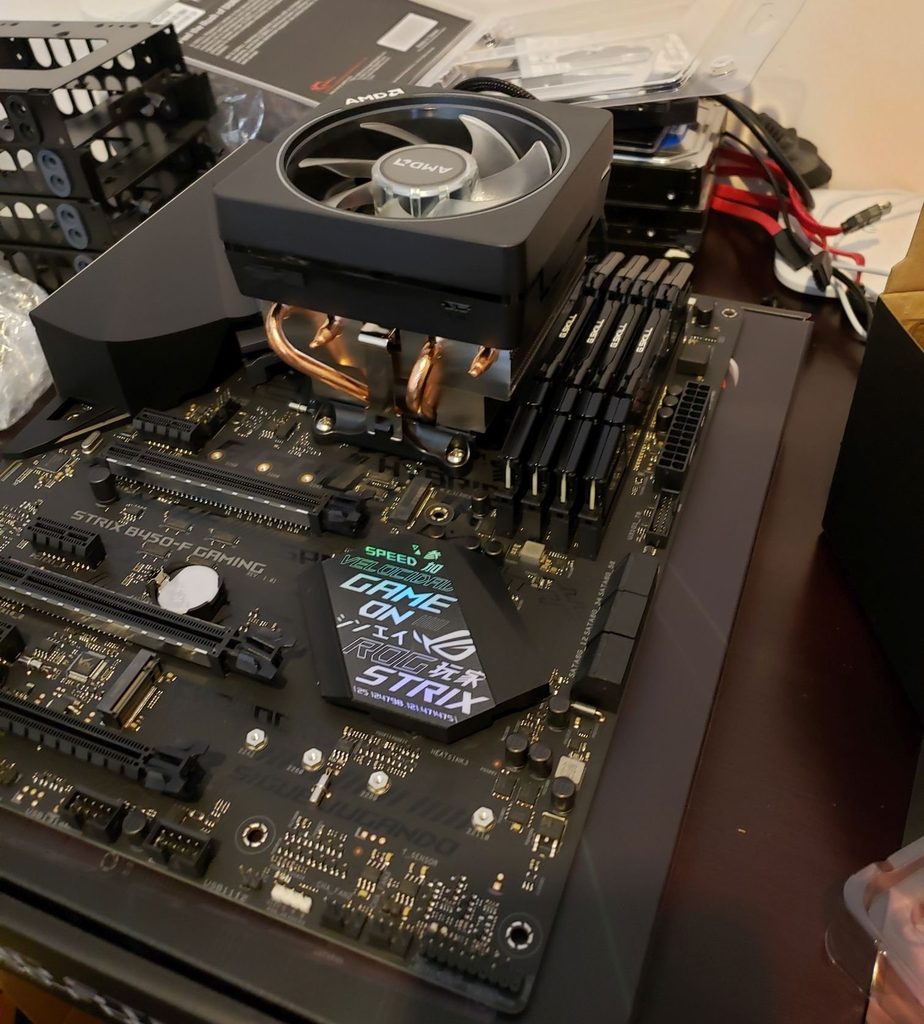
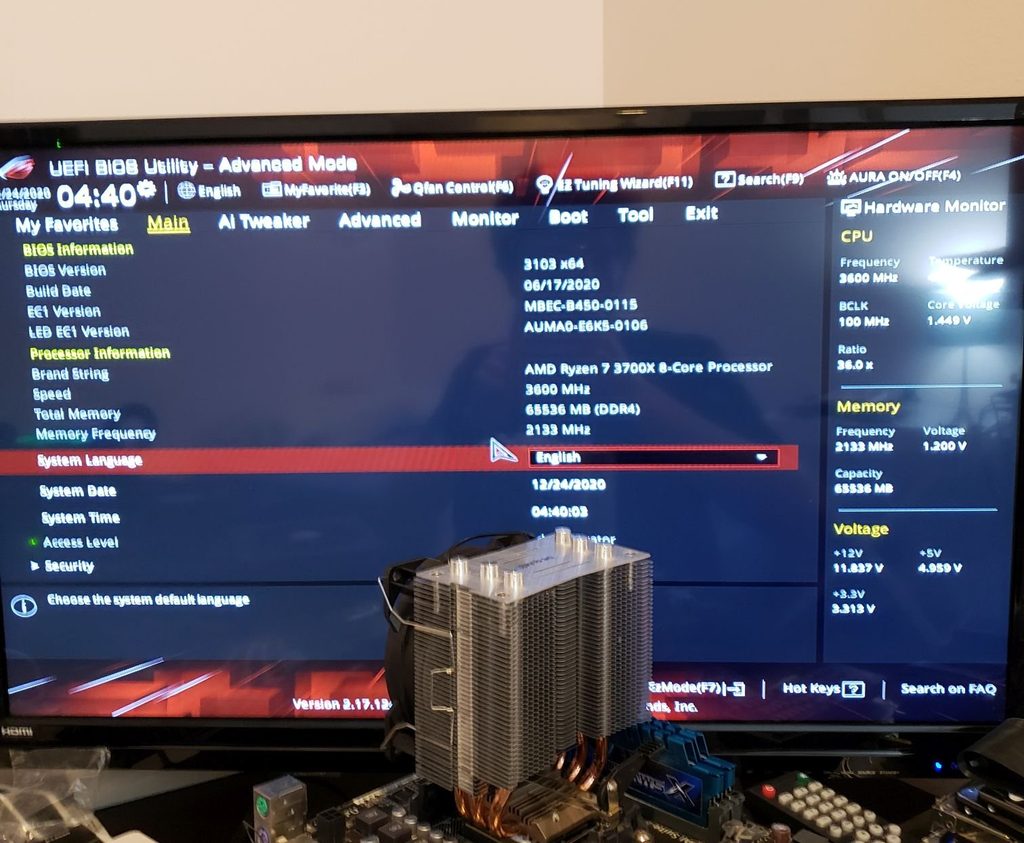
    I got everything else in an assembled and it was time to POST (Power On Self Test). Will I get it on the first try?

    The answer is yes, I got it first try. Blurry photo because I was excited.

    Needed to adjust a bew of the BIOS options for my RAM and CPU but everything was recognized as expected. The server is alive!

    Here is the full setup out of the case. Janky but pretty.

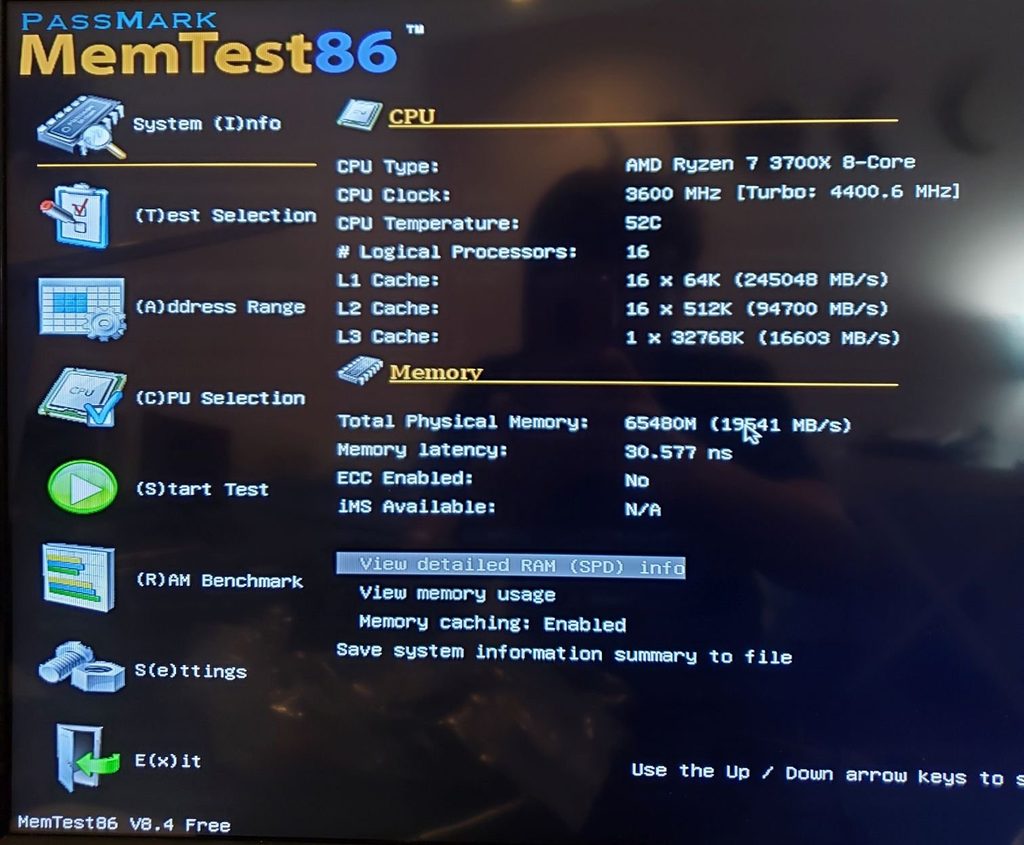
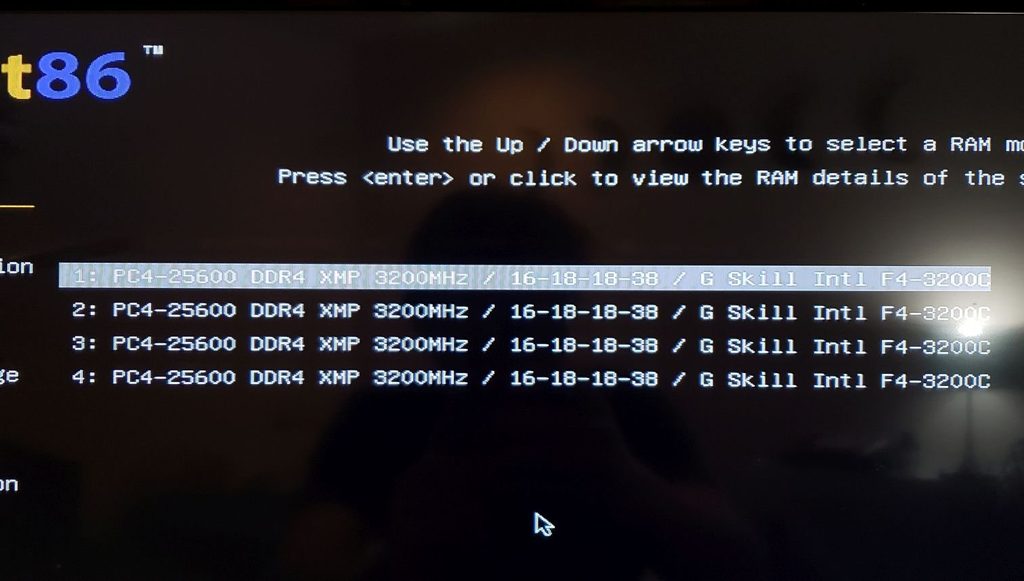
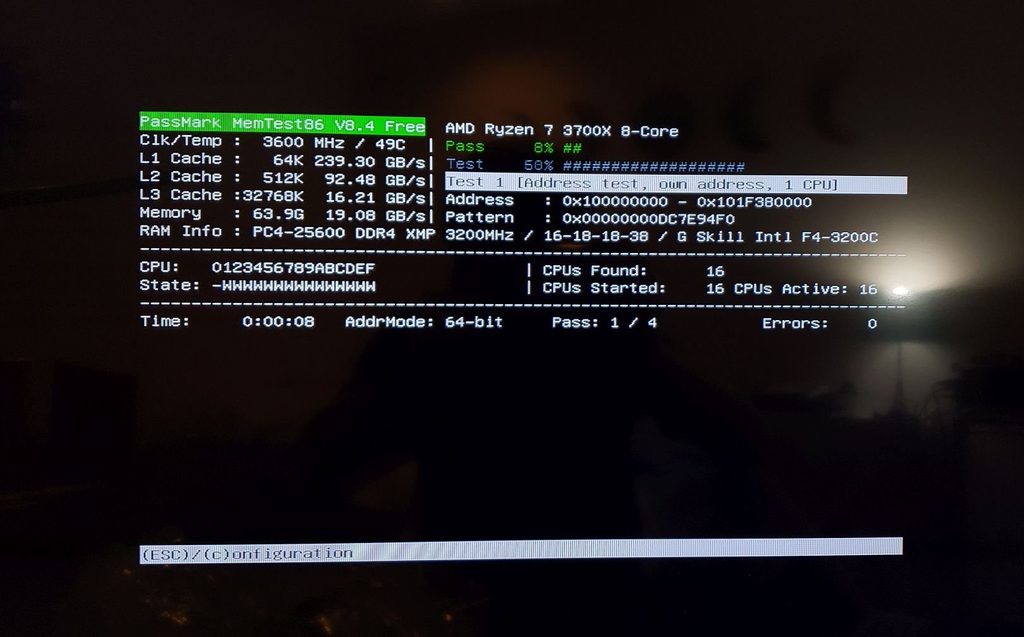
    Now I wanted to make sure that everything was working properly so I ran a RAM test to ensure that all 64GB were behaving correctly. This took about 10 hours.

    Animal Crossing Break

    On Christmas Eve I took a small Animal Crossing break to enjoy the Toy Day event while the test ran. Plus I needed a small break. Toy Day was quite fun.

    Installation/Setup

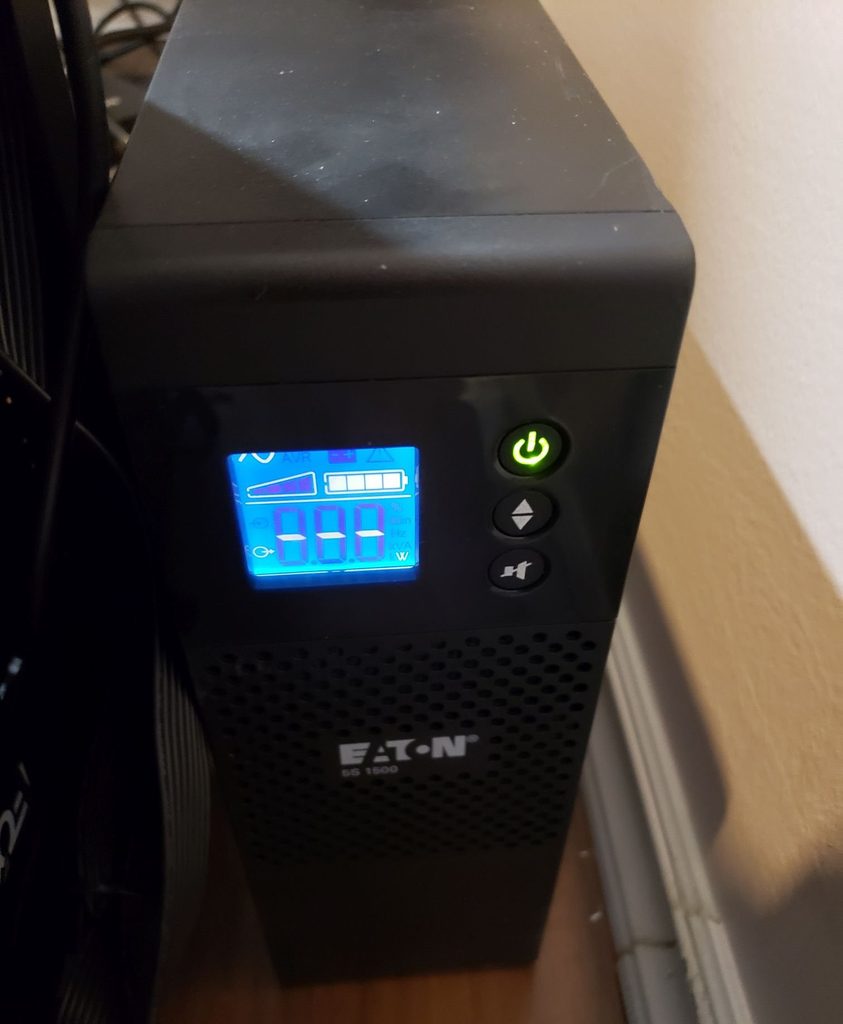
    Can’t forget to ensure that the server receives clean and consistent power, especially in the event of a power failure. Got a new to me Eaton UPS. This should be able to power the server for between 30-60 minutes depending on the load.

    It is very heavy.

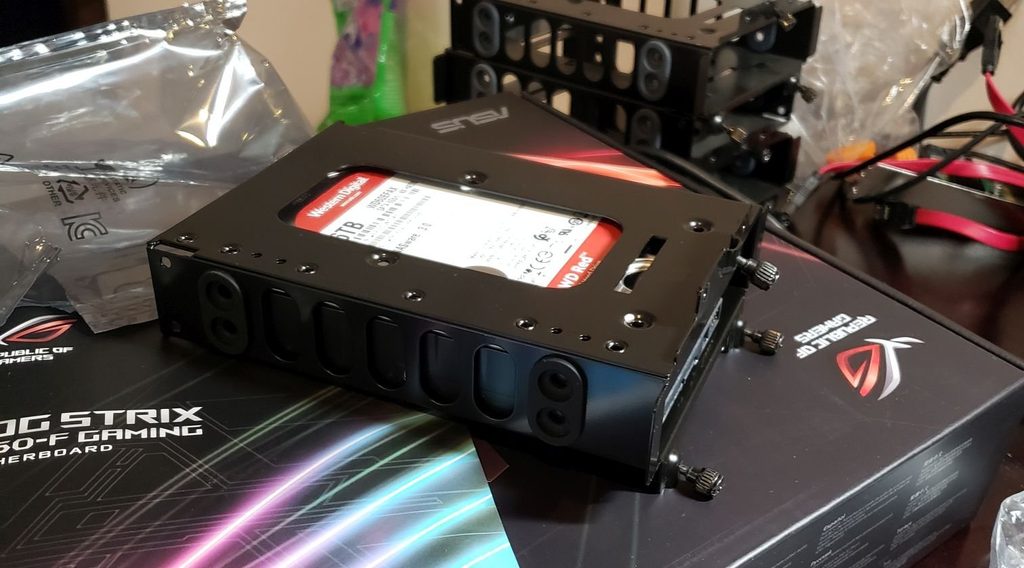
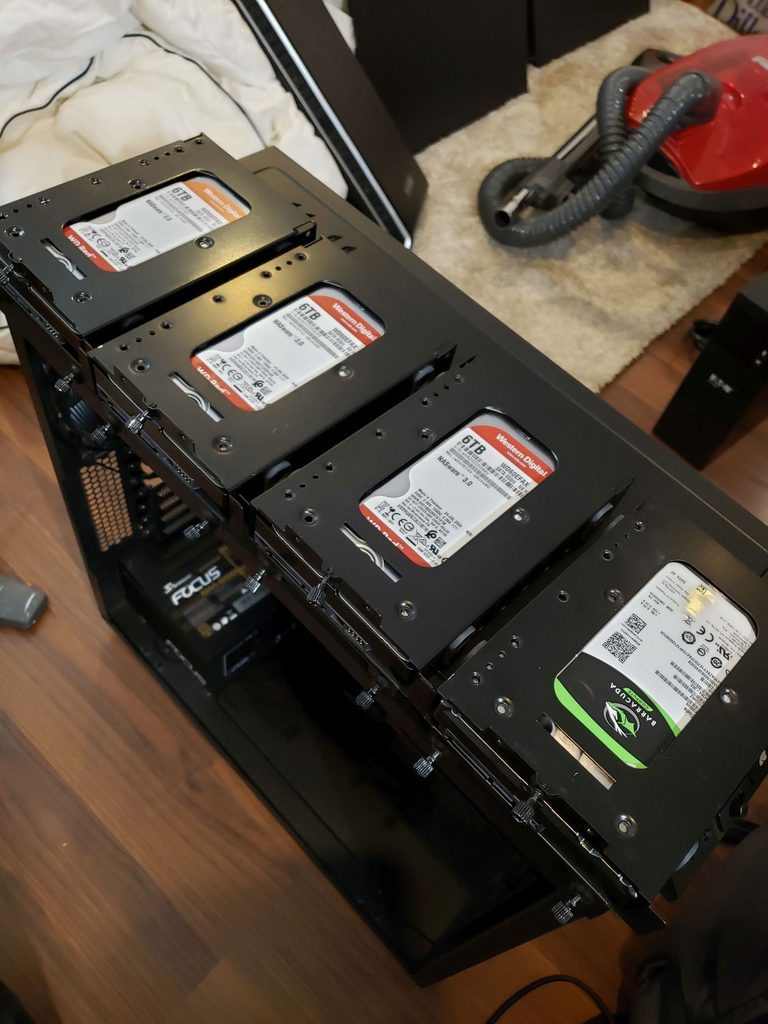
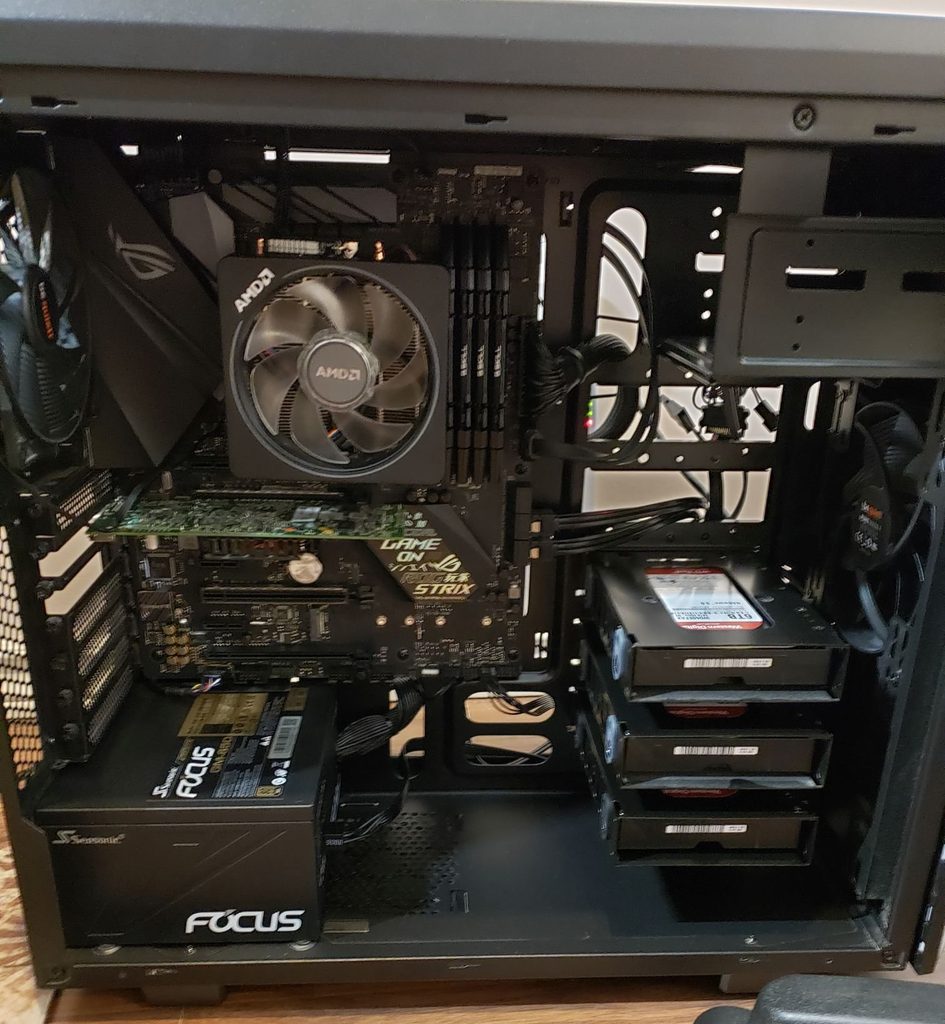
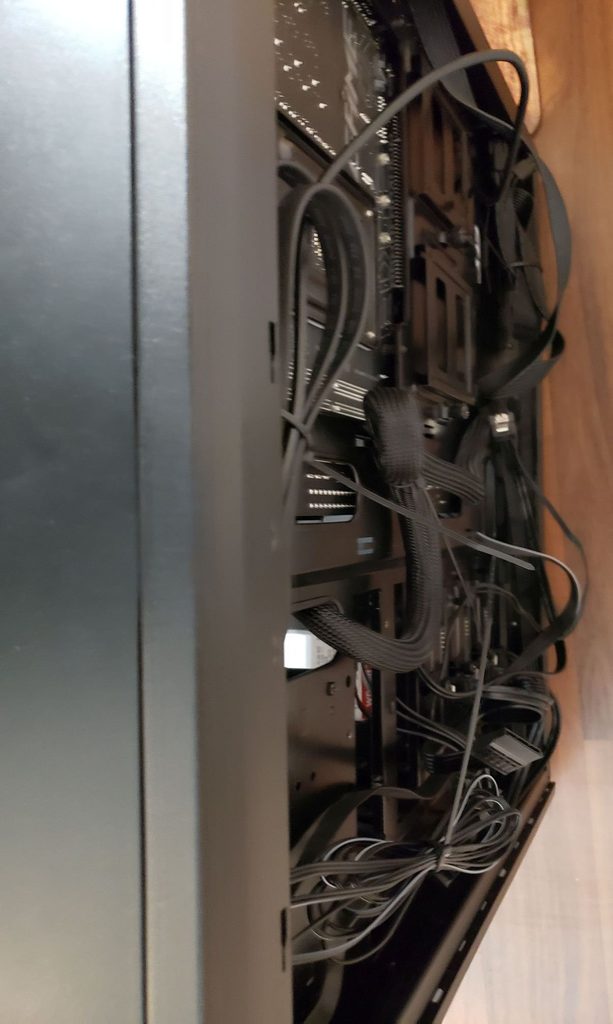
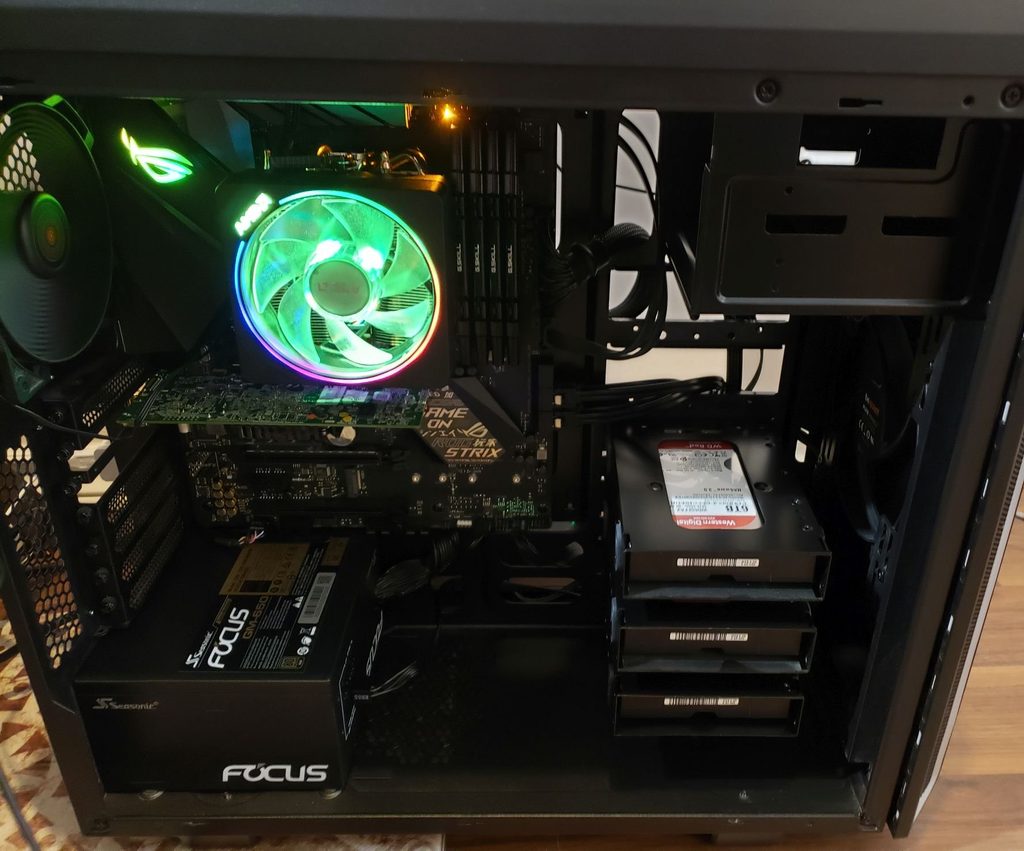
    Next up is to get all the hard drives in their caddies and then get everything into the case. It is getting exciting as we get closer to completion.

    Final Thoughts

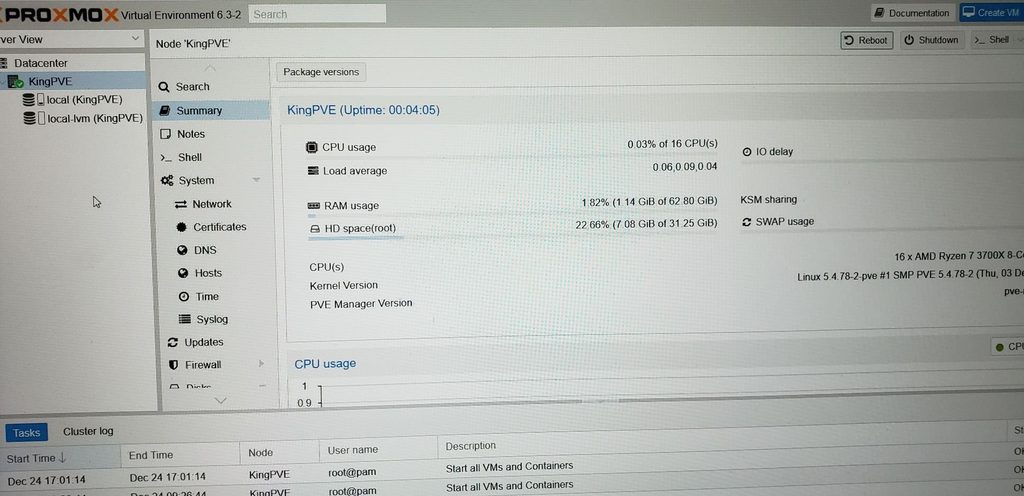
    I hope you enjoyed reading my little write up about the server upgrade. It was certainly a lot of fun for me. I am very excited for the upgrade and to test the limits of the new hardware. Obviously everything will be run within a virtual machine or container so there will be minor overhead but it isn’t that much of an issue with modern hardware. If you have any questions or want more info let me know and I am happy to talk about it and answer questions. Now I have to pay my dog tax.

    Dog Tax

    These fluff balls kept me company while I worked on the server and took breaks and whatnot. They are going to miss me when I go back home.