
Building the New Server
Server Upgrade 2020
A new server! Huzzah! I will take you through the experience of building the new server and setting it all up to run the Minecraft server. I talk about the components that went into the server as well as my rationale.
Planning
This server upgrade has been planned for a few weeks now. Started with an ambitious goal to create a super server that could do it all, but then was reduced to an upgrade, but a significant one at that. The primary goal was to consolidate the two servers into one to make management easier and reduce power consumption. To make this happen I needed high-capacity hard drives for the media server component, an insane amount of RAM (I still wish I had more), and a super fast 1TB boot drive.
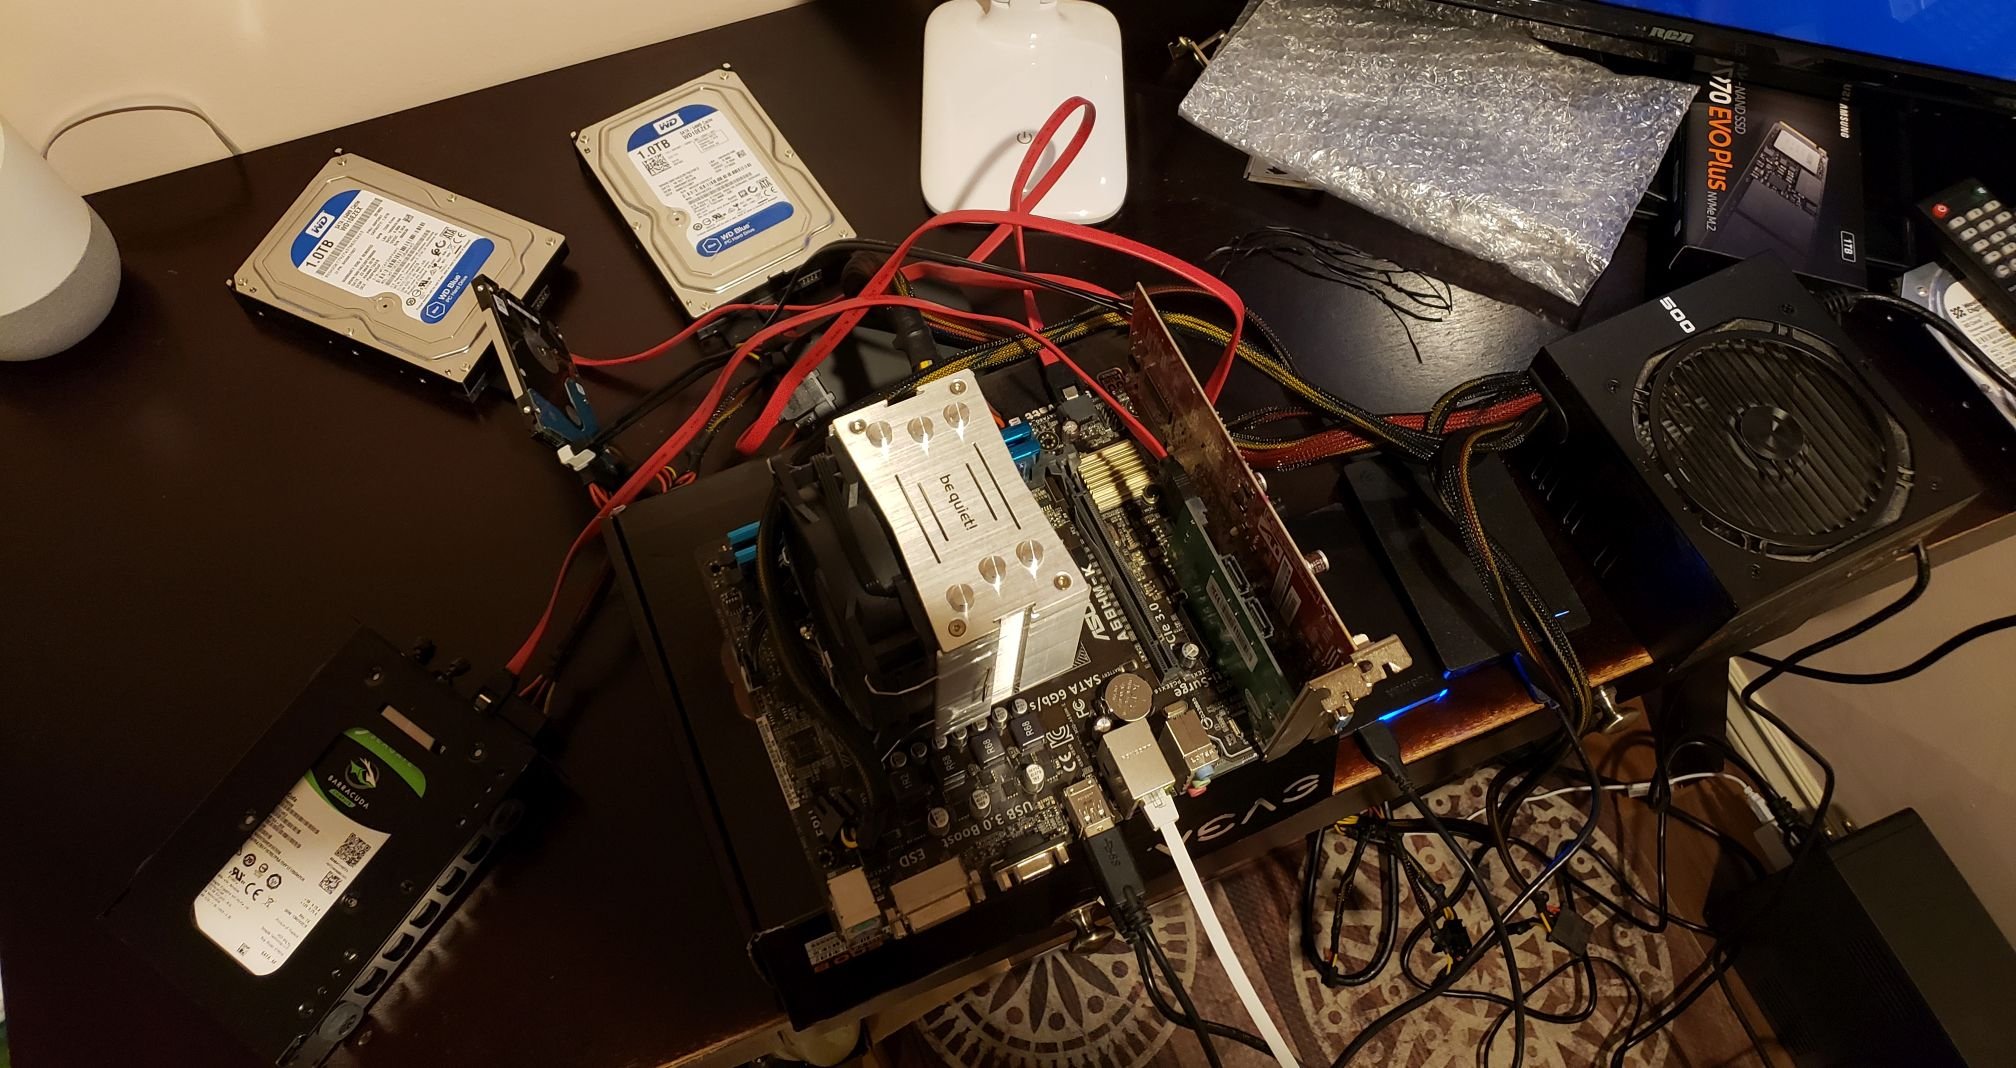
The current setup is rather janky, see the image below. It consists of two computers, one rocking a 3rd gen i7 from 2014, and the other rocking an Athlon from that same time period. The smaller Dell server handles the media serving as well as all the game servers, while the larger box with the Athlon is the bulk storage. These are being consolidated with a complete rebuild and upgrade in the be quiet! Pure Base 600 with 3 6TB WD Red drives, a Ryzen 7 3700X and a 1TB Samsung 970 EVO Plus NVMe SSD. This should provided enough power to host game servers and host a media server all at the same time.

The old server setup. It worked, but was not ideal.
If you are interested in the specs see this post where I announce the upgrade and discuss the parts.
Dismantling
The first step was to dismantle the computer in the case I needed. Thankfully I could do this with minimal impact to the Dell server so only the services that relied on the storage would be down. It was extremely dusty. I needed it to be out of the case to build the new server in it, but I also needed it to run to get the data off. The result is what I like to call the jank bench.
Took the old components out of the case since I am reusing the case. It needed a good clean.
Cleaning
Like I mentioned, the case was extremely dusty, as well as all the parts. I did not care so much about the parts but the case needed a good cleaning. I got to work with compressed air, a vacuum and a microfibre cloth.
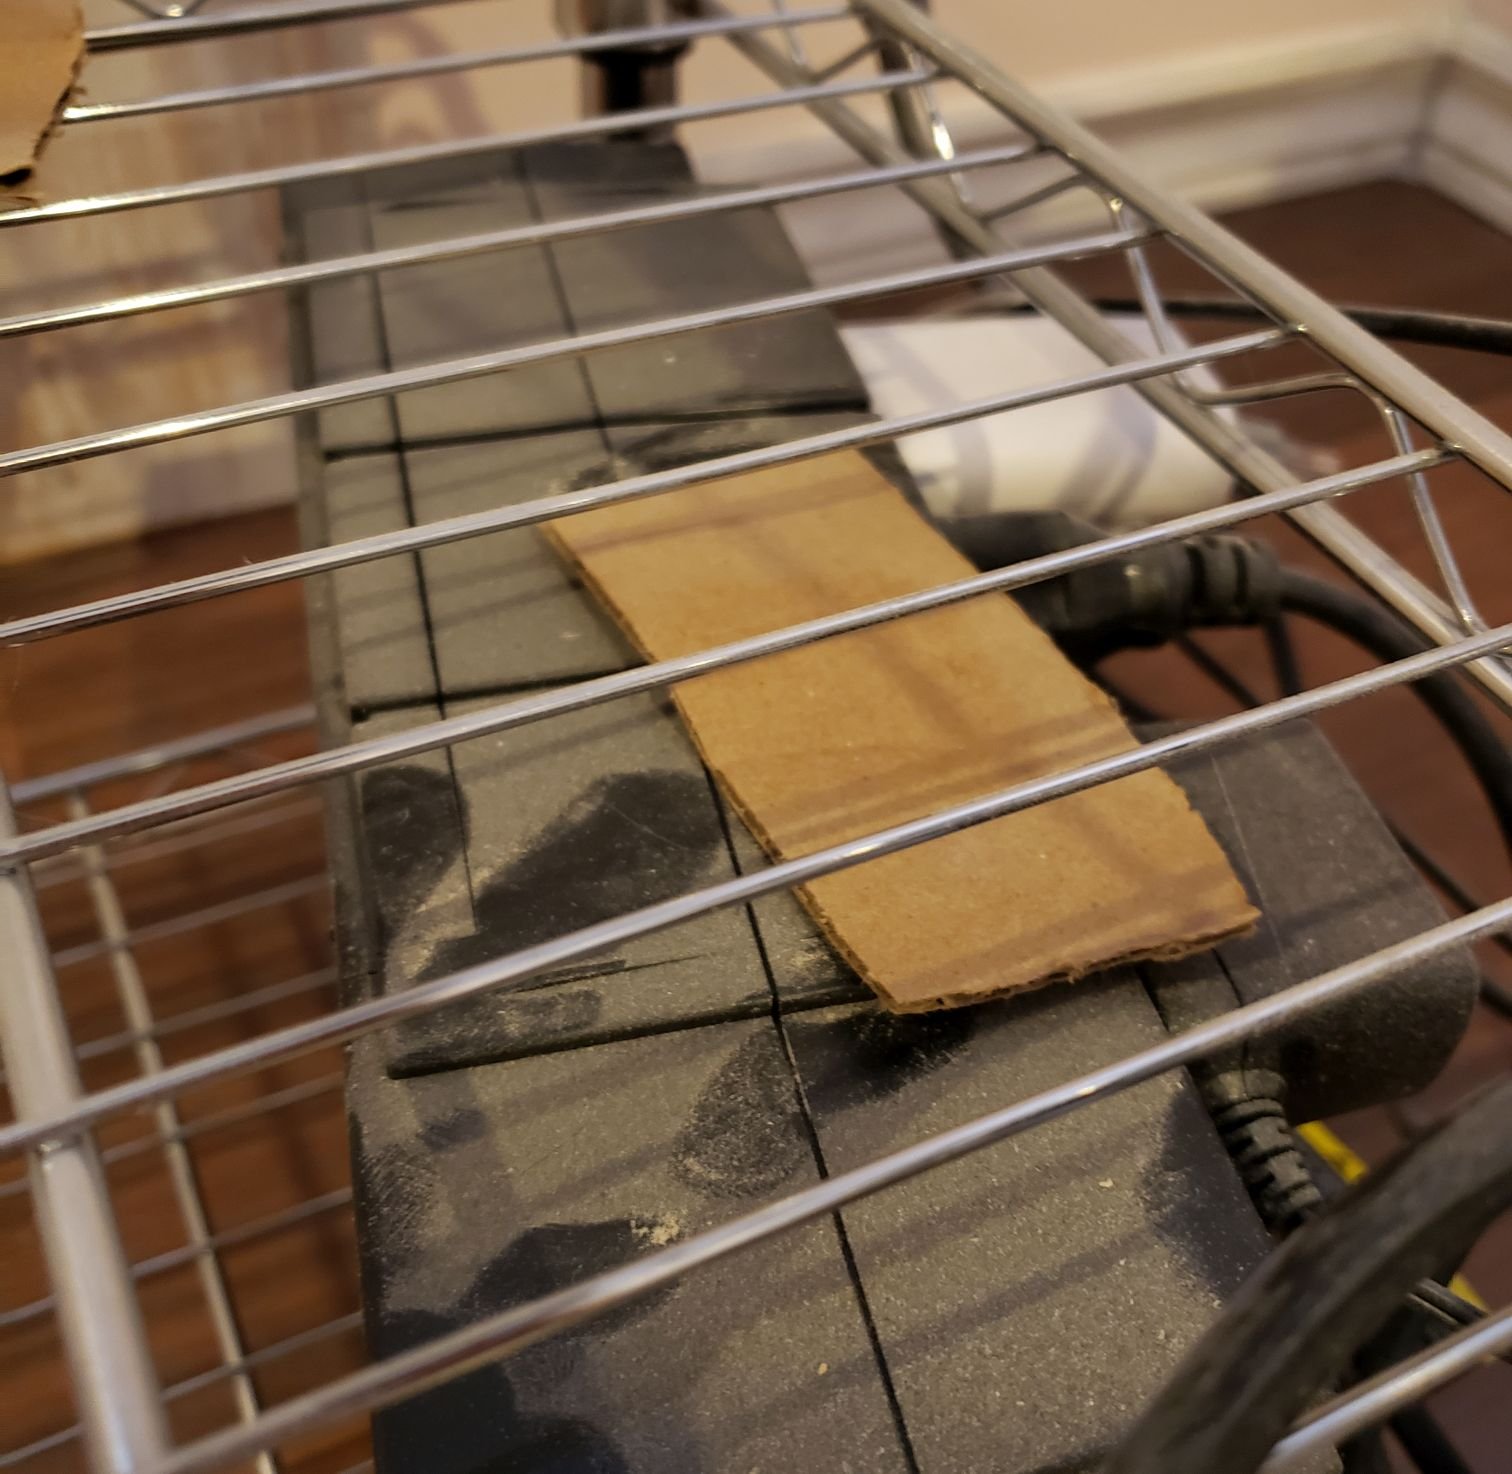
Drywall mud dust got everywhere, even with plastic sheets.
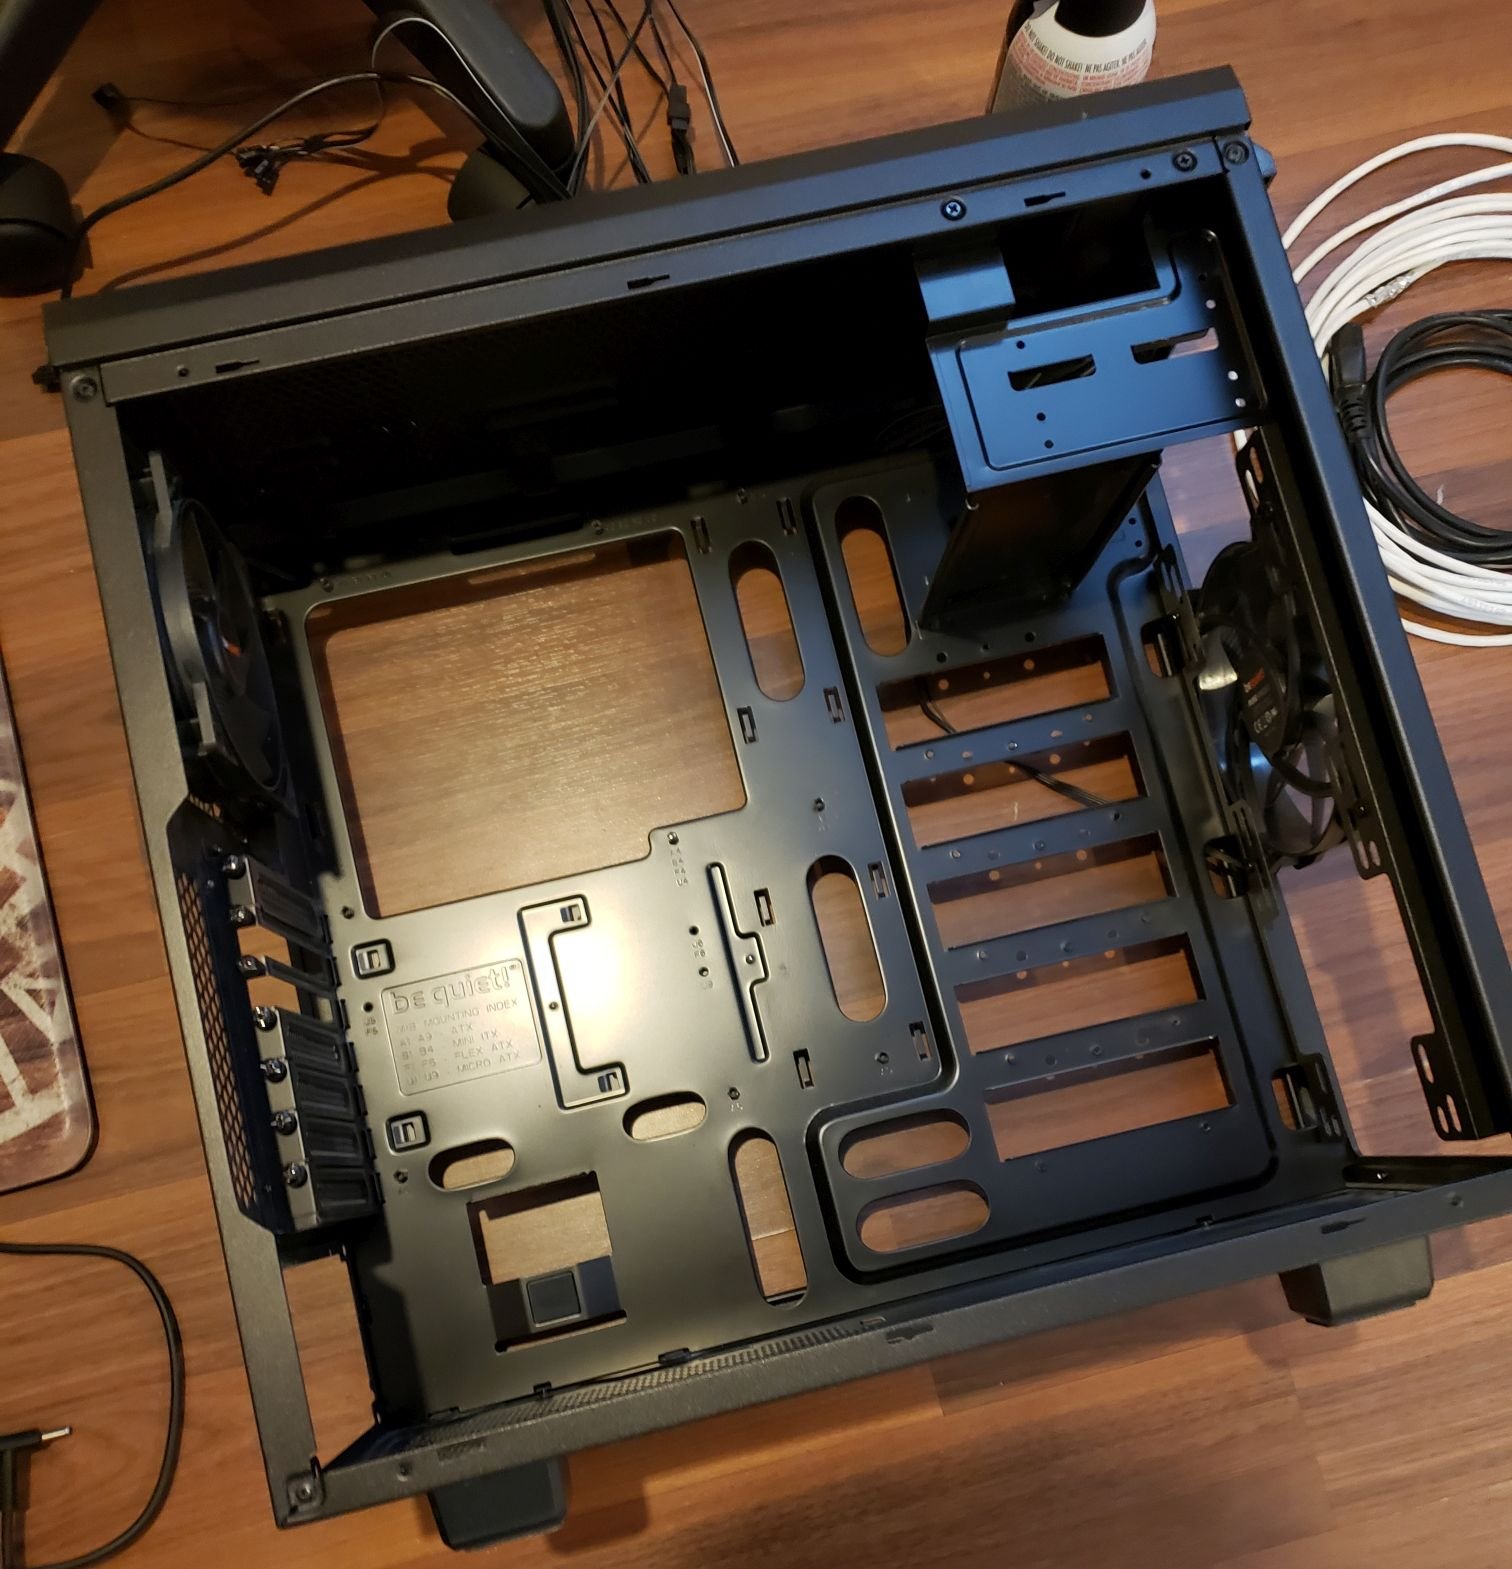
Looks brand new again. Used to be covered in dust like above. Not great for a computer.
Building/Upgrading
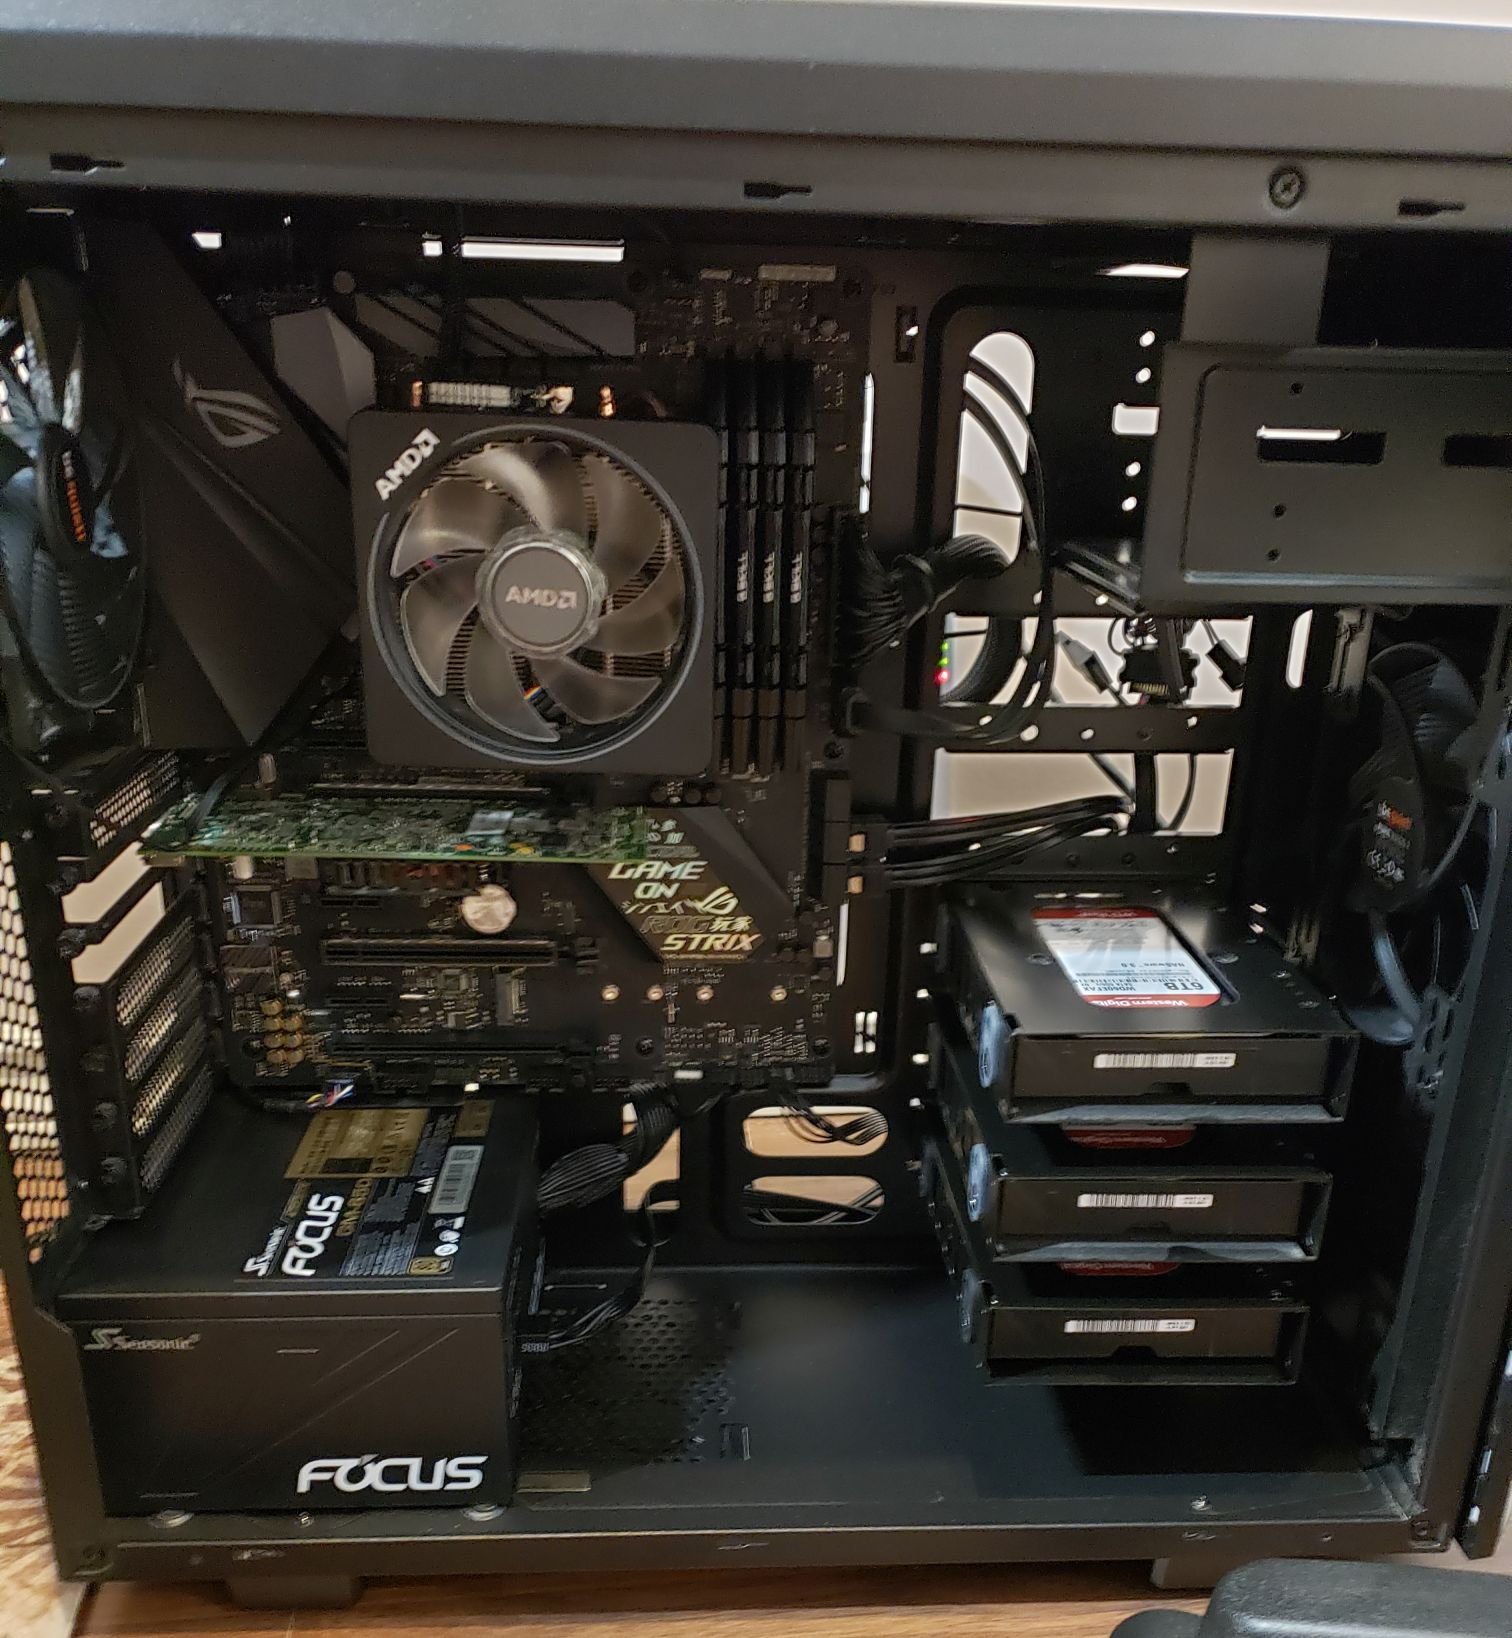
The new residents of the be quiet case.
First step was to assemble the new server outside the case to ensure everything worked.

Motherbaord out of and on top of the box. On a non-conductive surface.
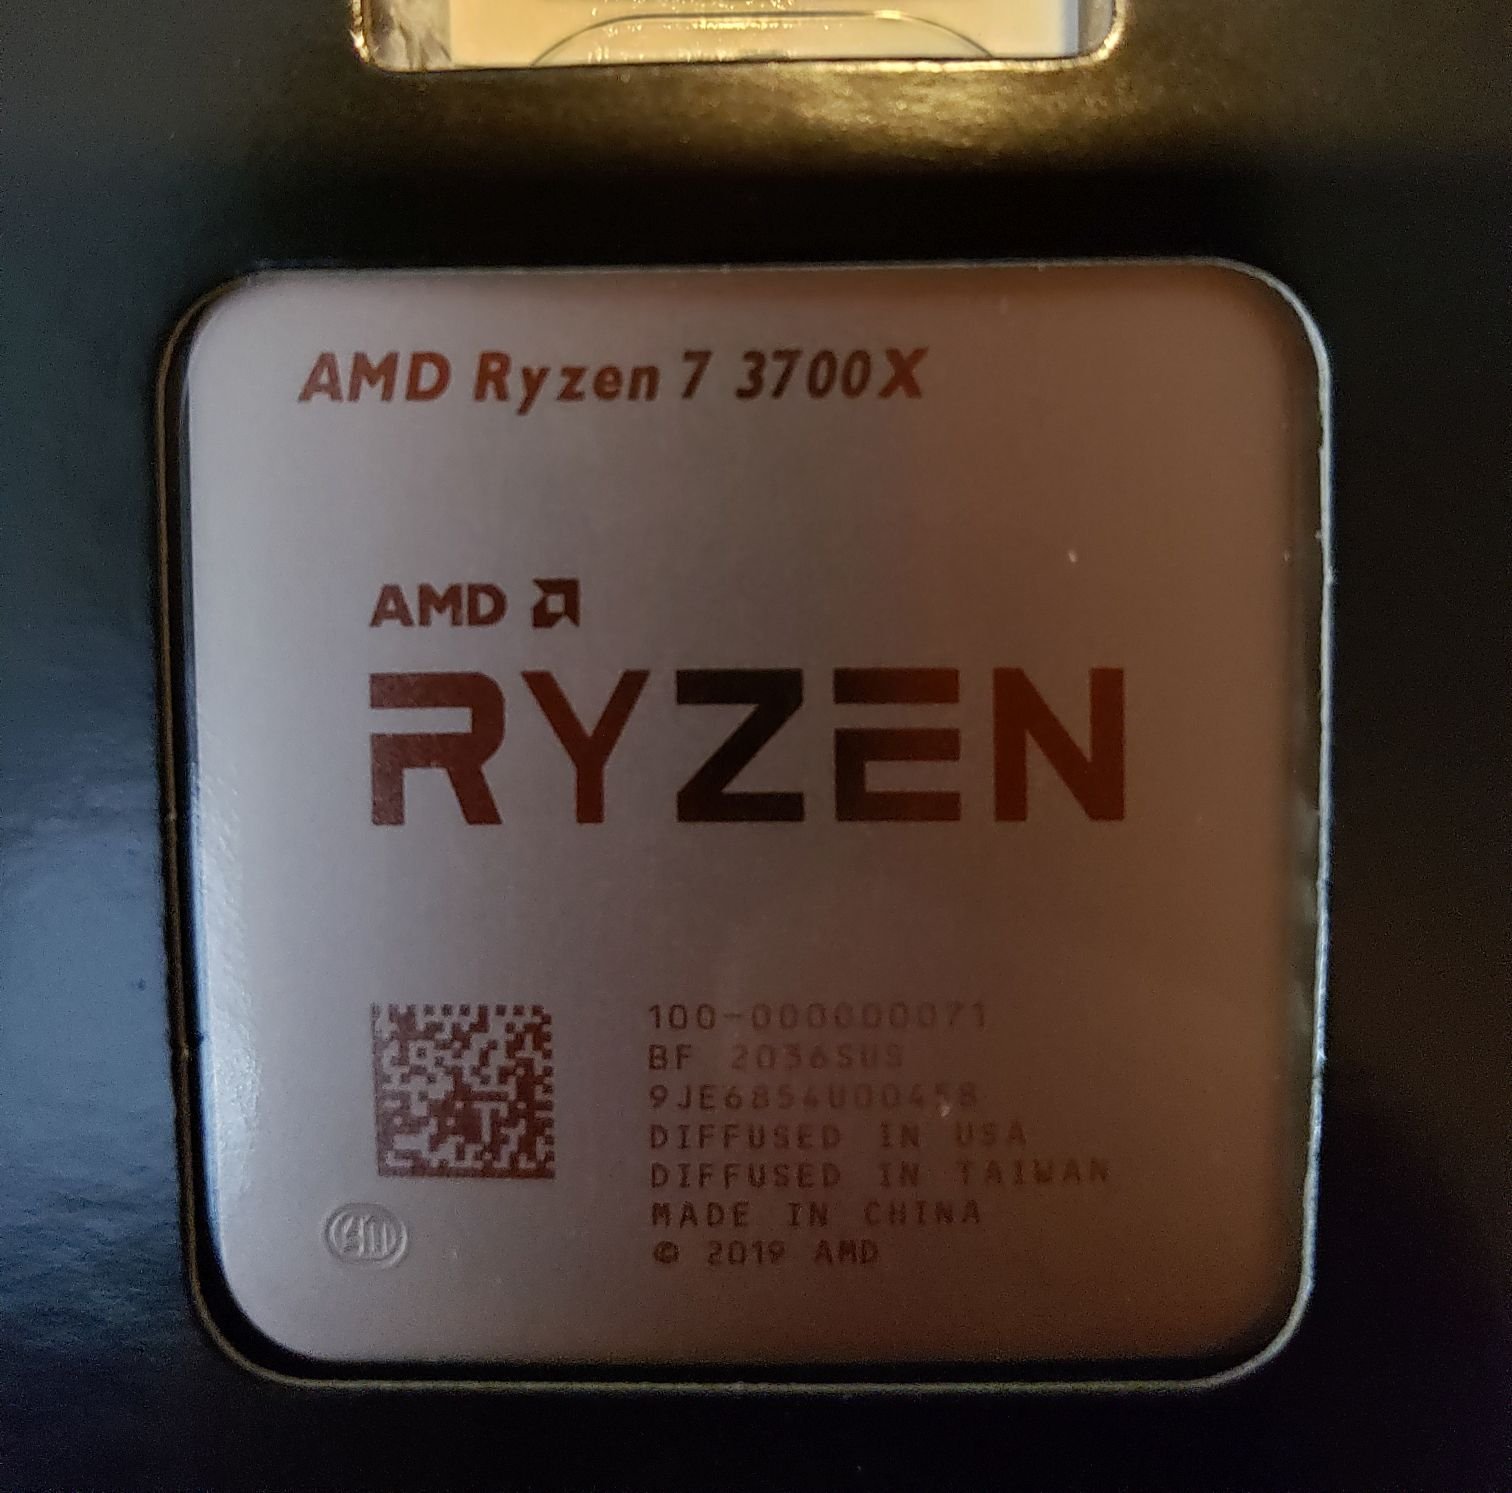
The CPU, it is a beast for the price.
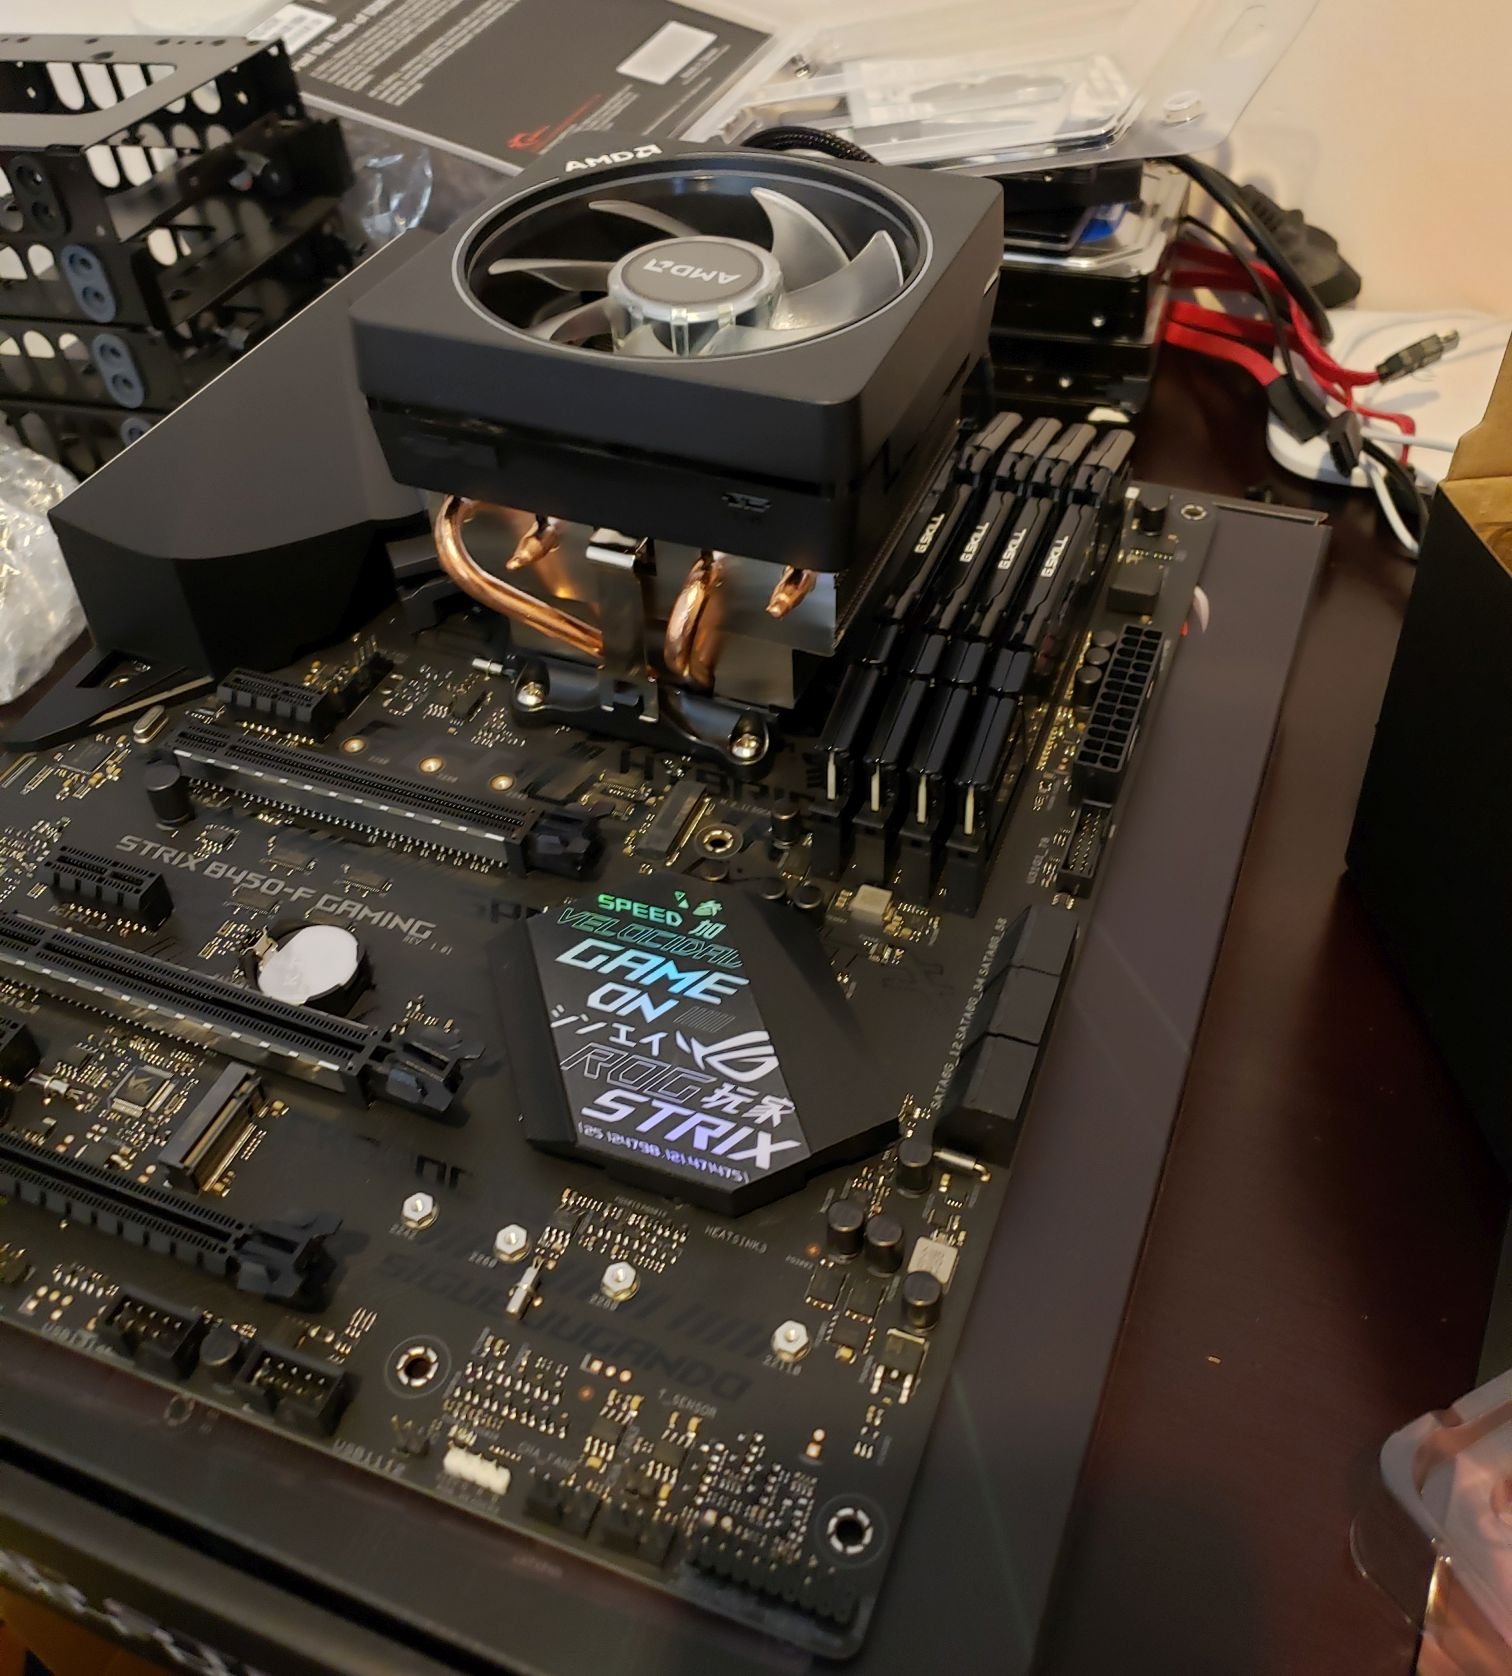
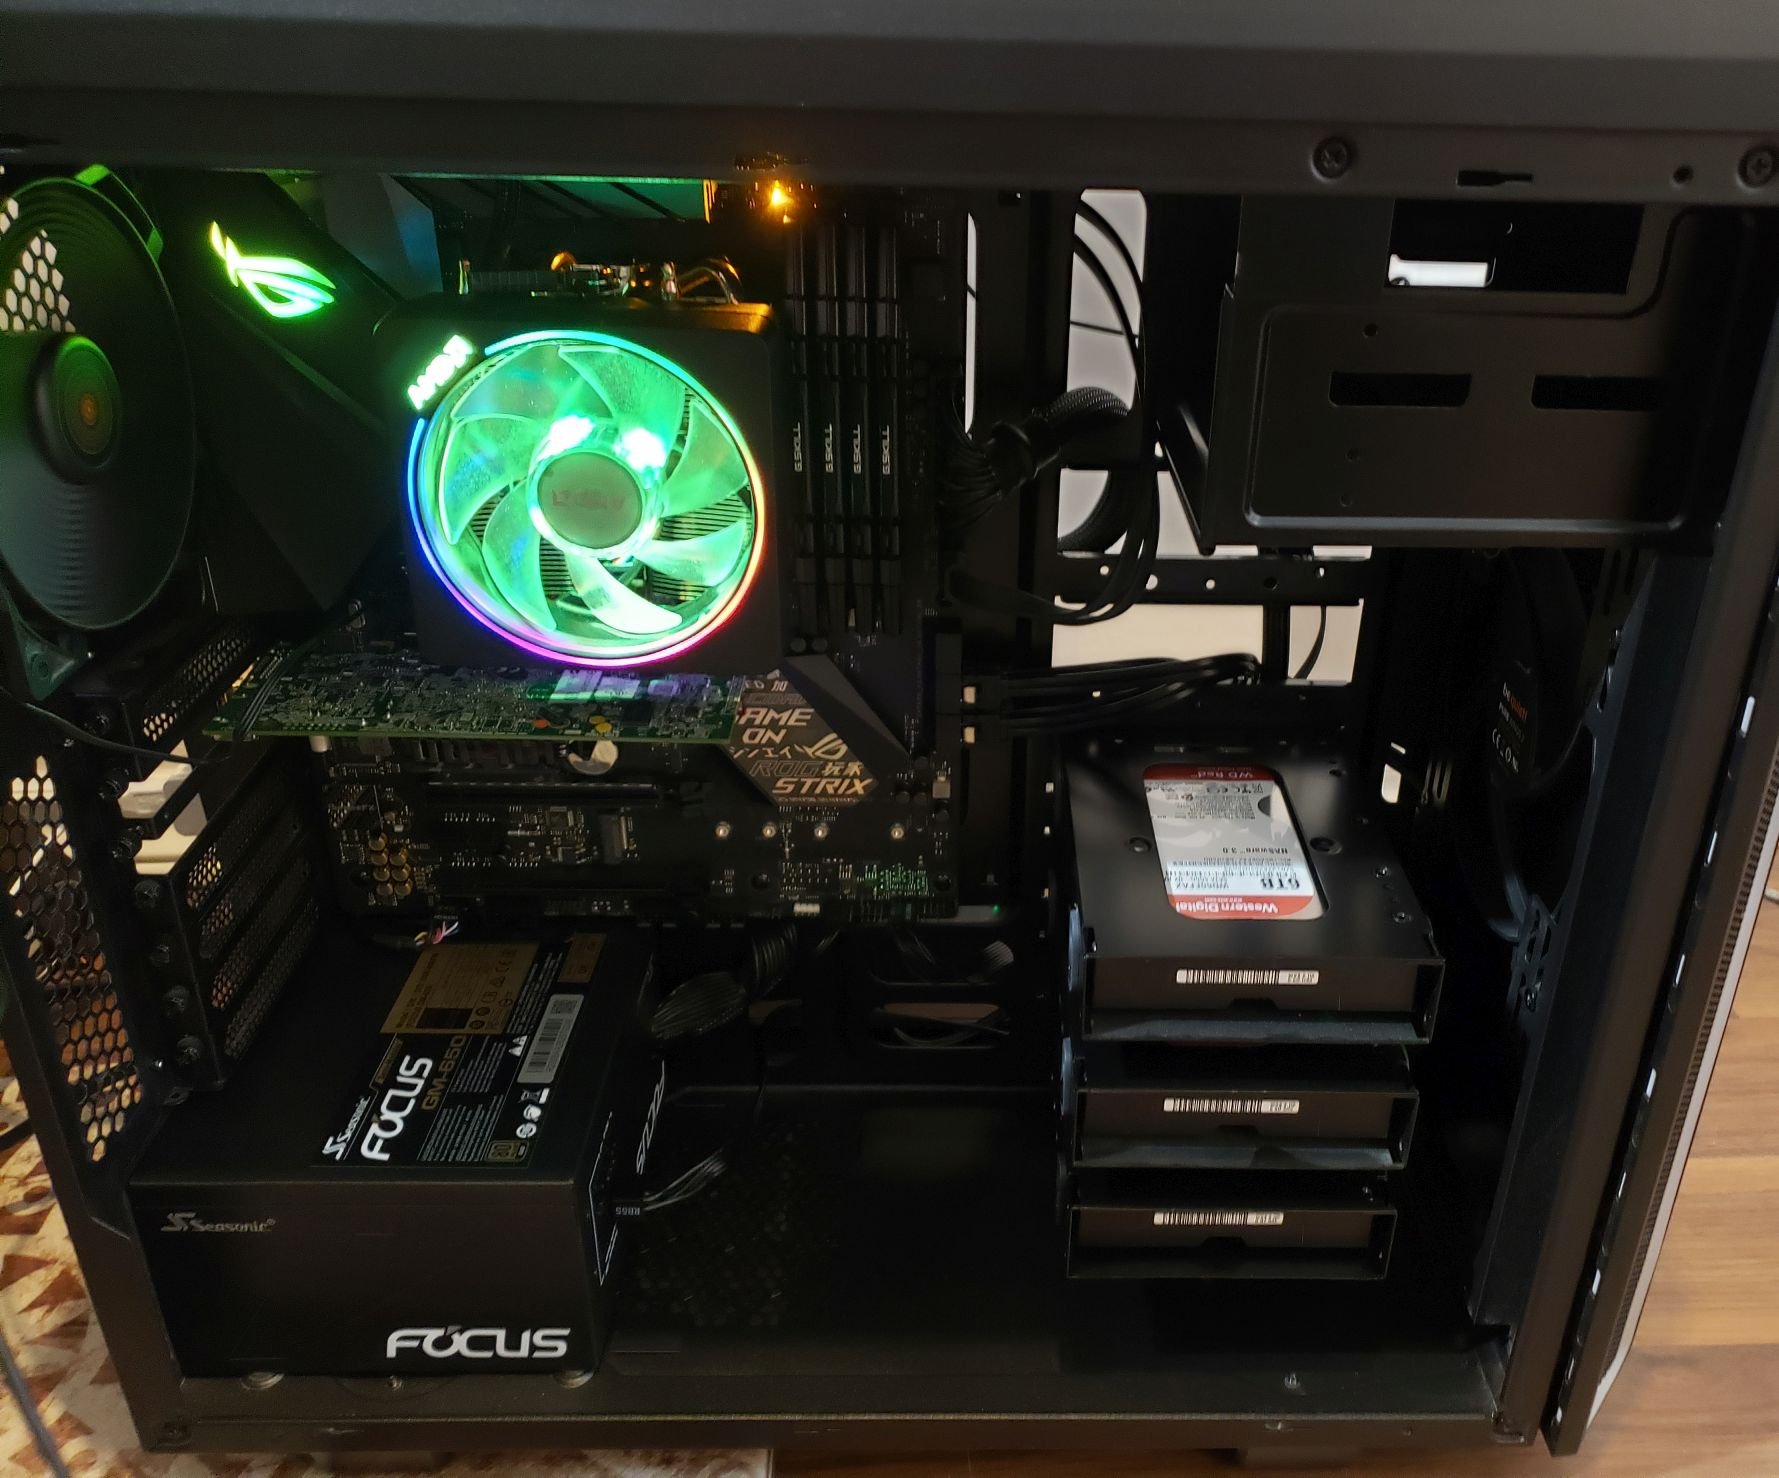
CPU, cooler and RAM installed. It is beautiful.
I got everything else in an assembled and it was time to POST (Power On Self Test). Will I get it on the first try?
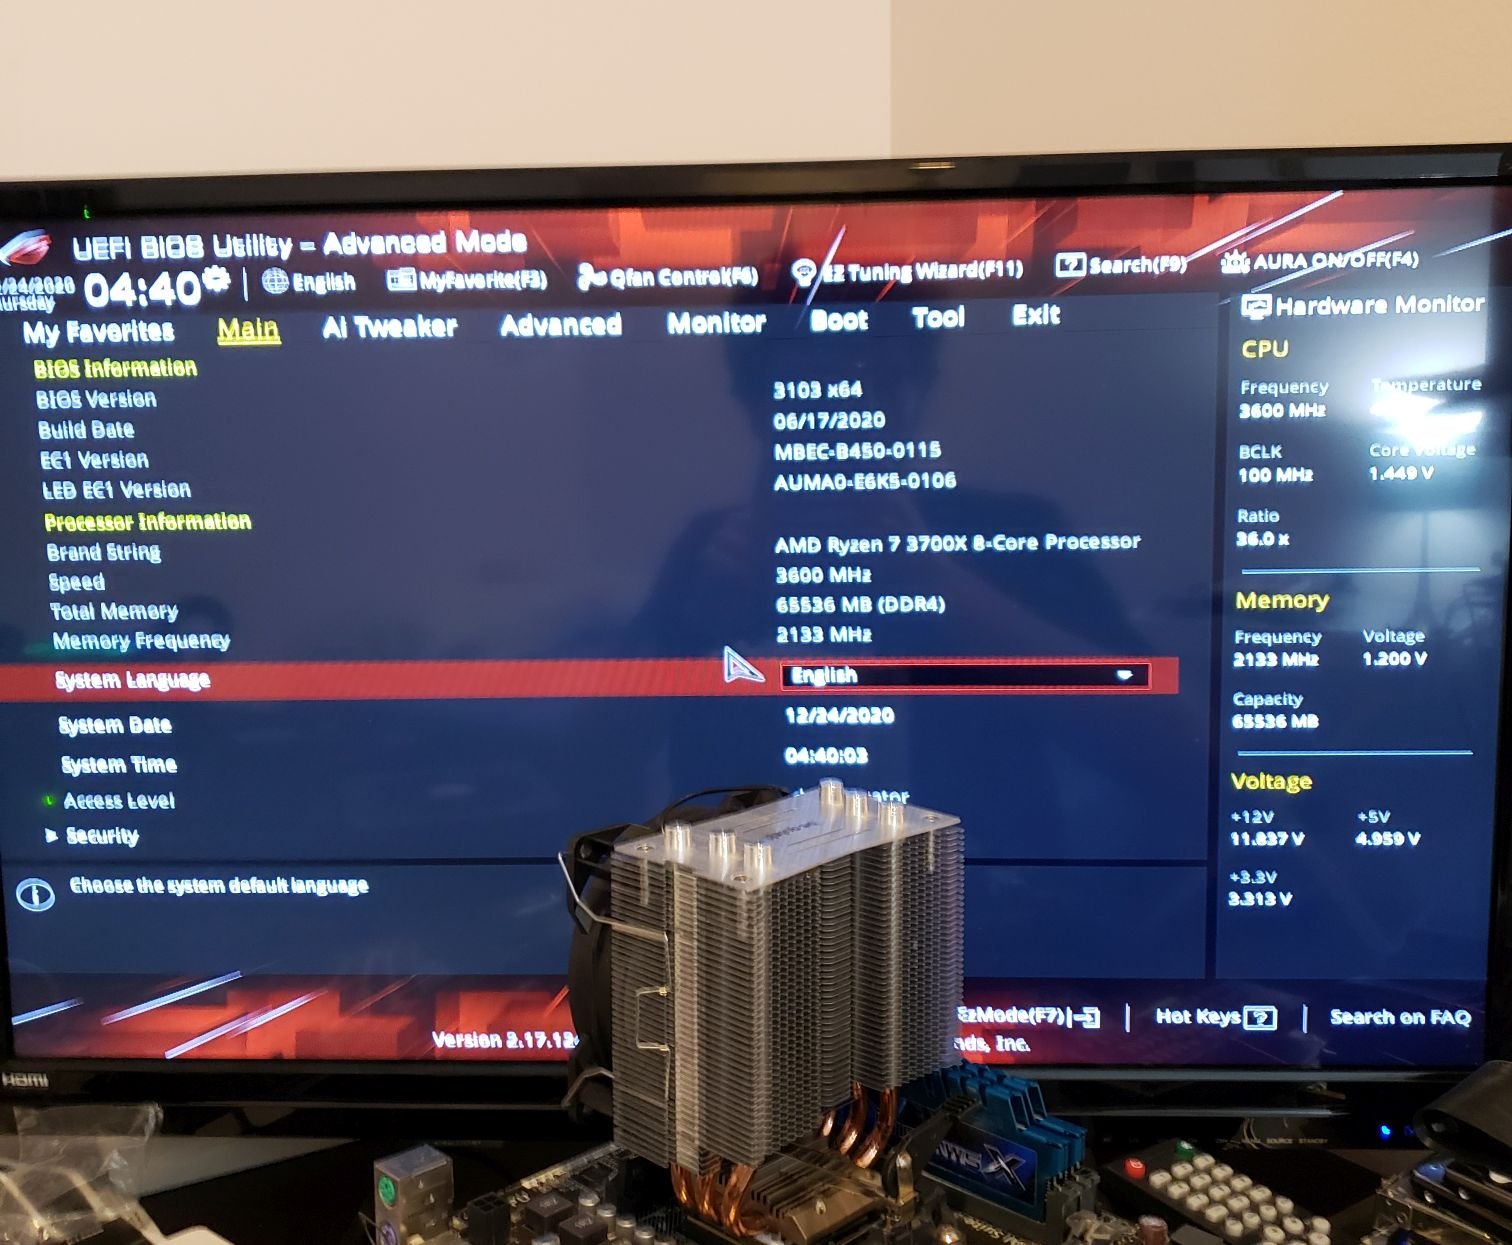
The answer is yes, I got it first try. Blurry photo because I was excited.
Needed to adjust a bew of the BIOS options for my RAM and CPU but everything was recognized as expected. The server is alive!
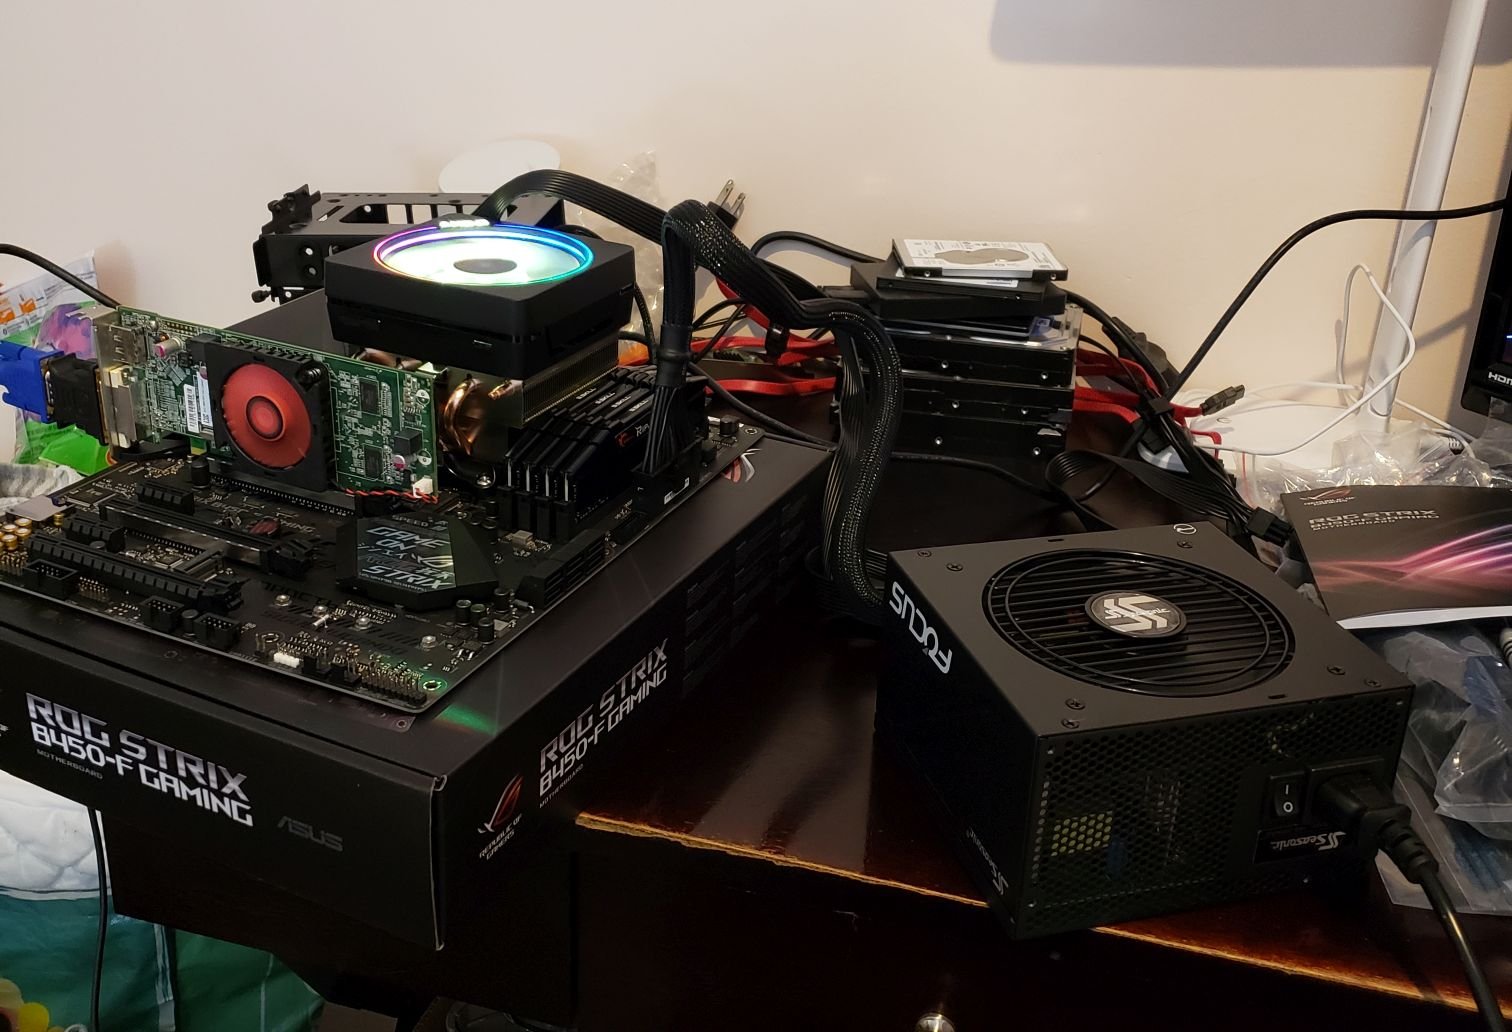
Here is the full setup out of the case. Janky but pretty.
Now I wanted to make sure that everything was working properly so I ran a RAM test to ensure that all 64GB were behaving correctly. This took about 10 hours.
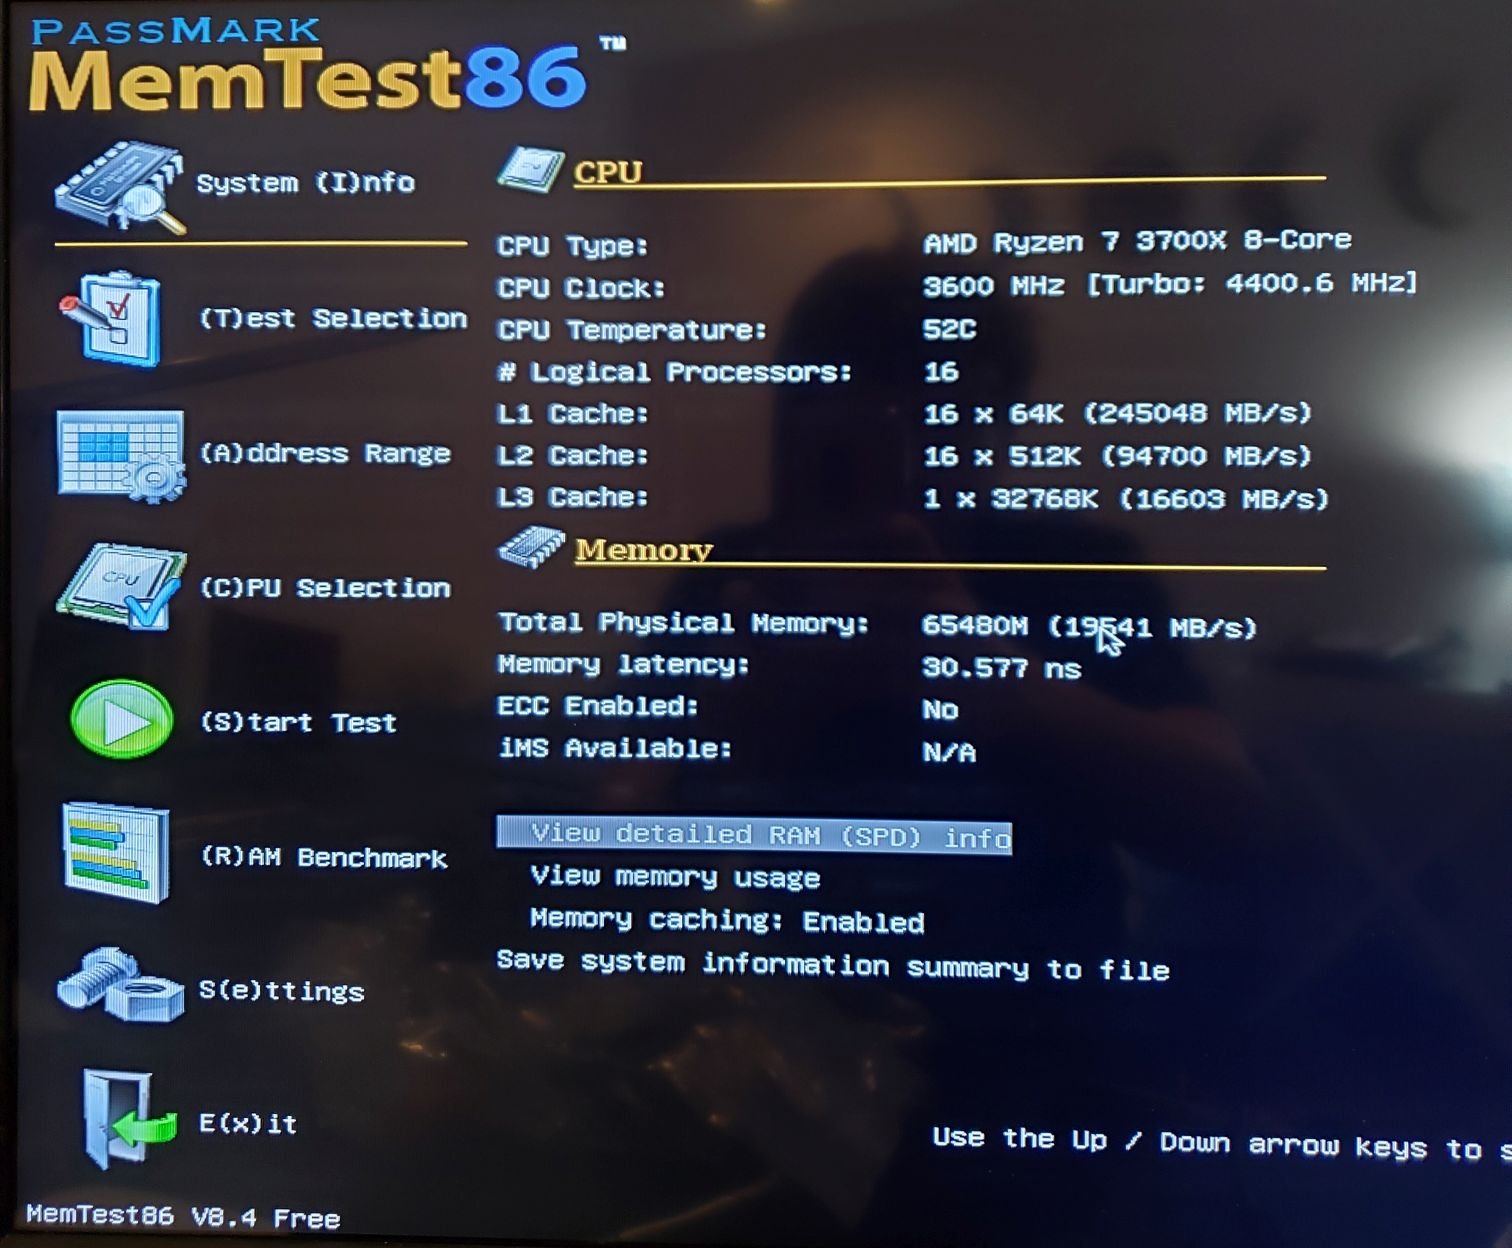
Memtest x86 is a free program that tests RAM for errors.
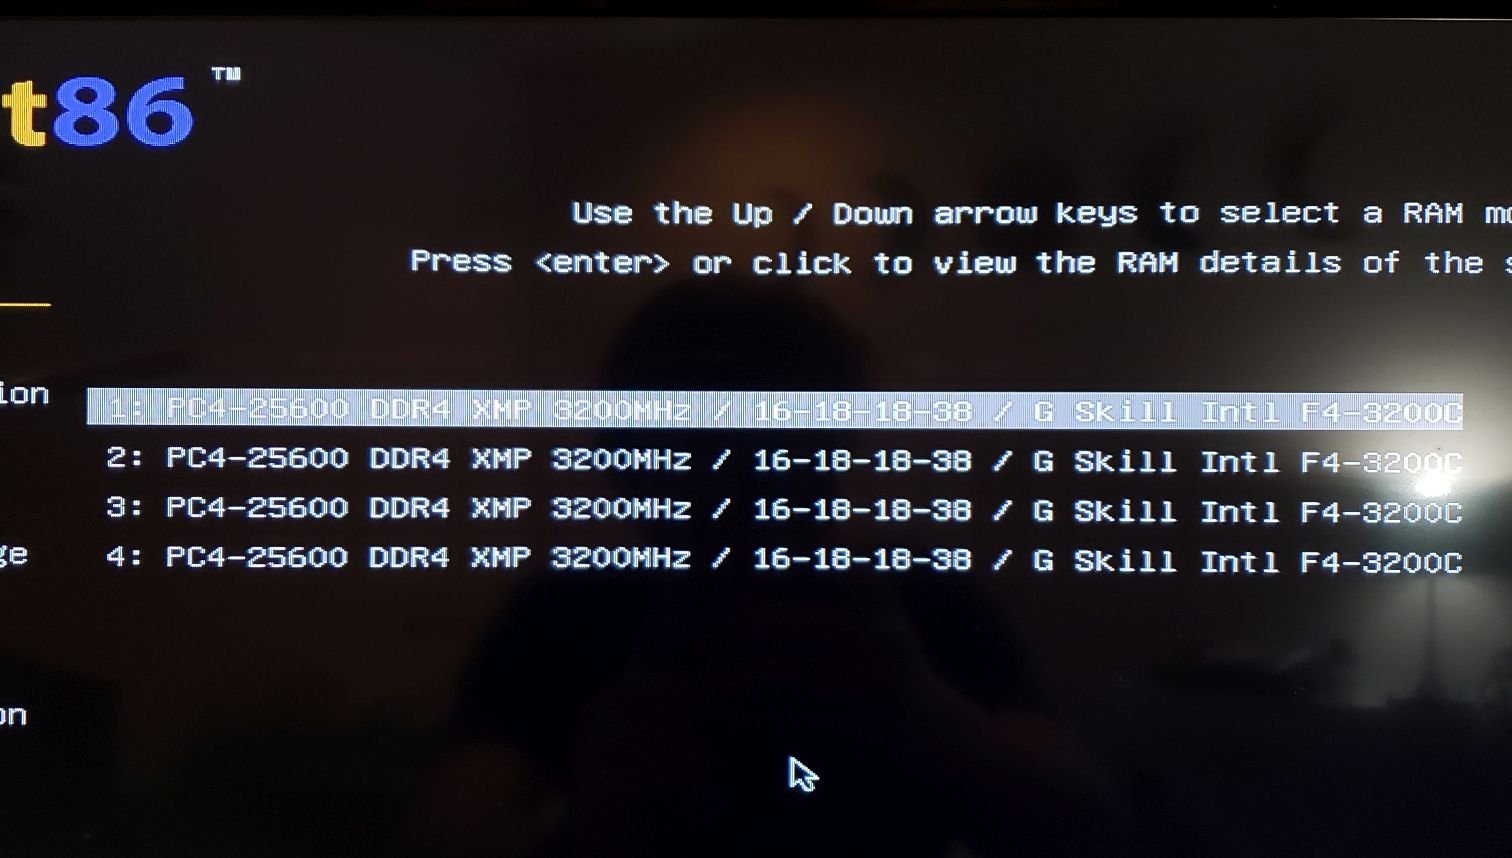
RAM Specs. Pretty intense.
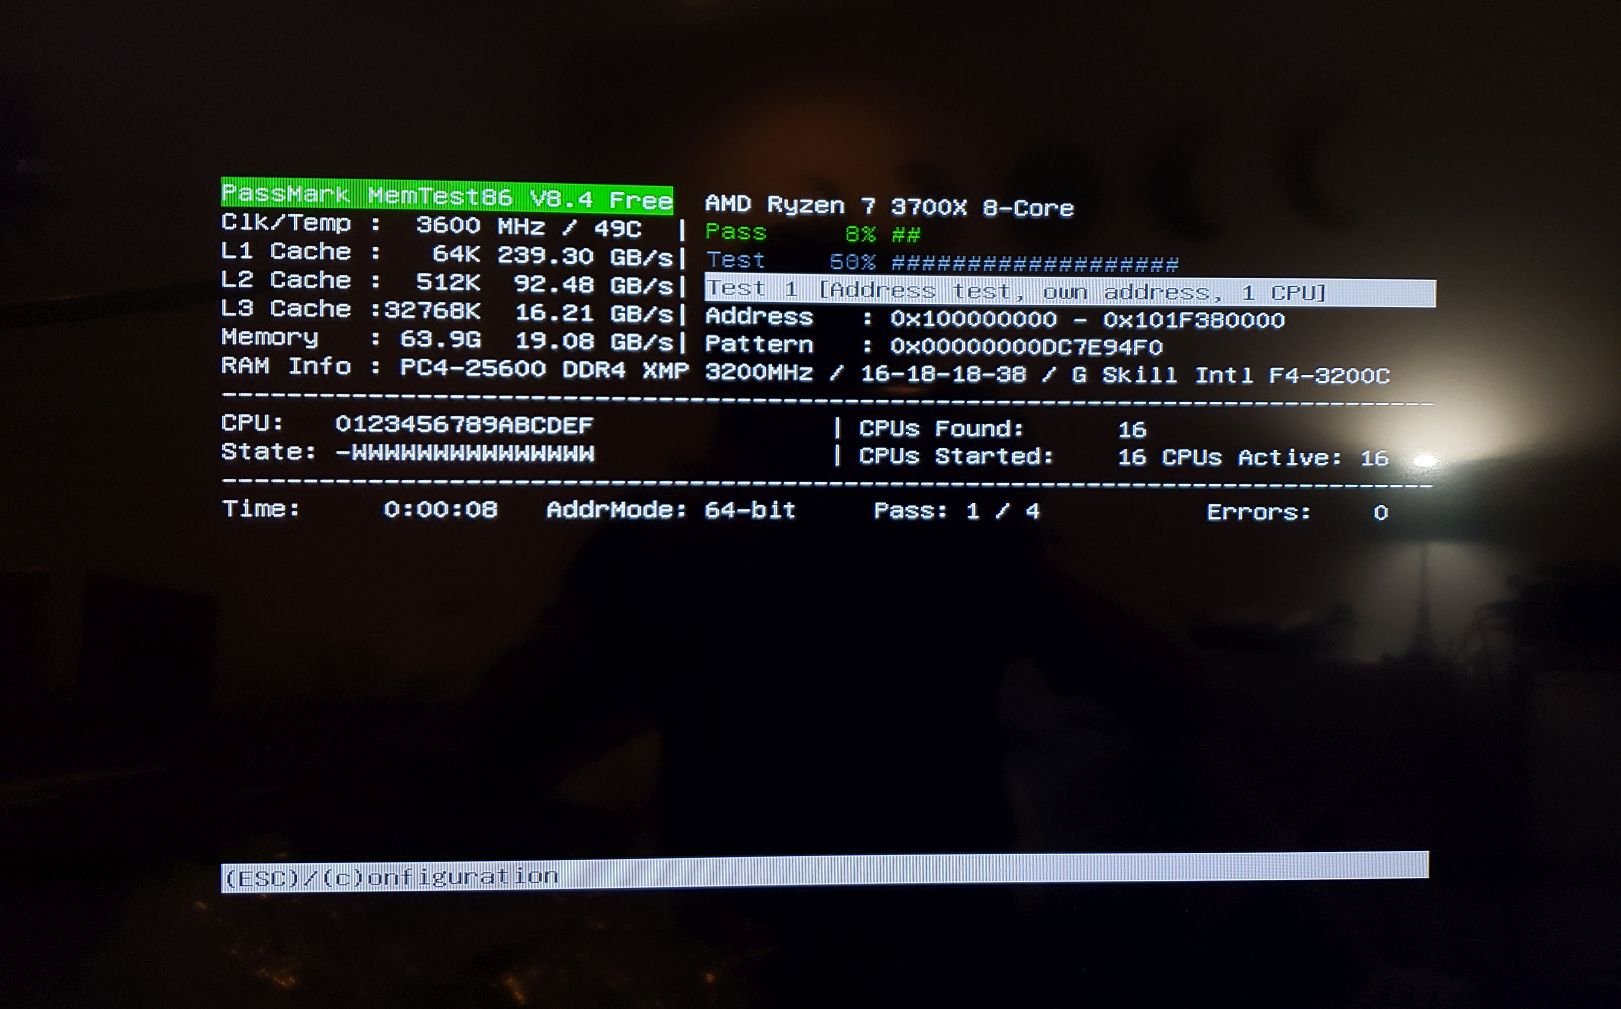
Running the test. Came back 10 hours later with no errors.
Animal Crossing Break
On Christmas Eve I took a small Animal Crossing break to enjoy the Toy Day event while the test ran. Plus I needed a small break.

Toy Day was quite fun.
Installation/Setup
Can't forget to ensure that the server receives clean and consistent power, especially in the event of a power failure. Got a new to me Eaton UPS. This should be able to power the server for between 30-60 minutes depending on the load.

It is very heavy.
Next up is to get all the hard drives in their caddies and then get everything into the case. It is getting exciting as we get closer to completion.
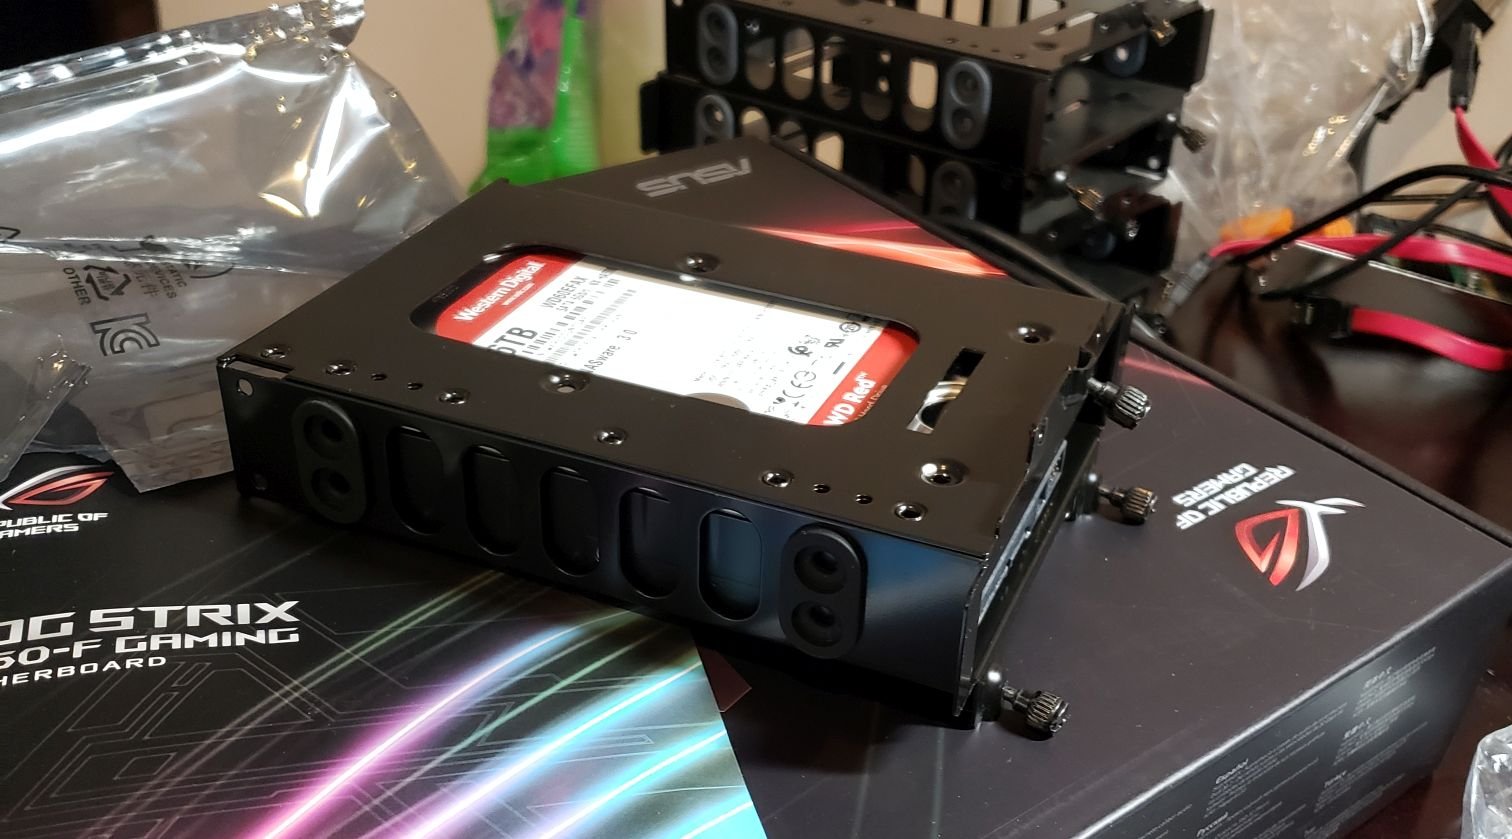
One down, 3 more to go
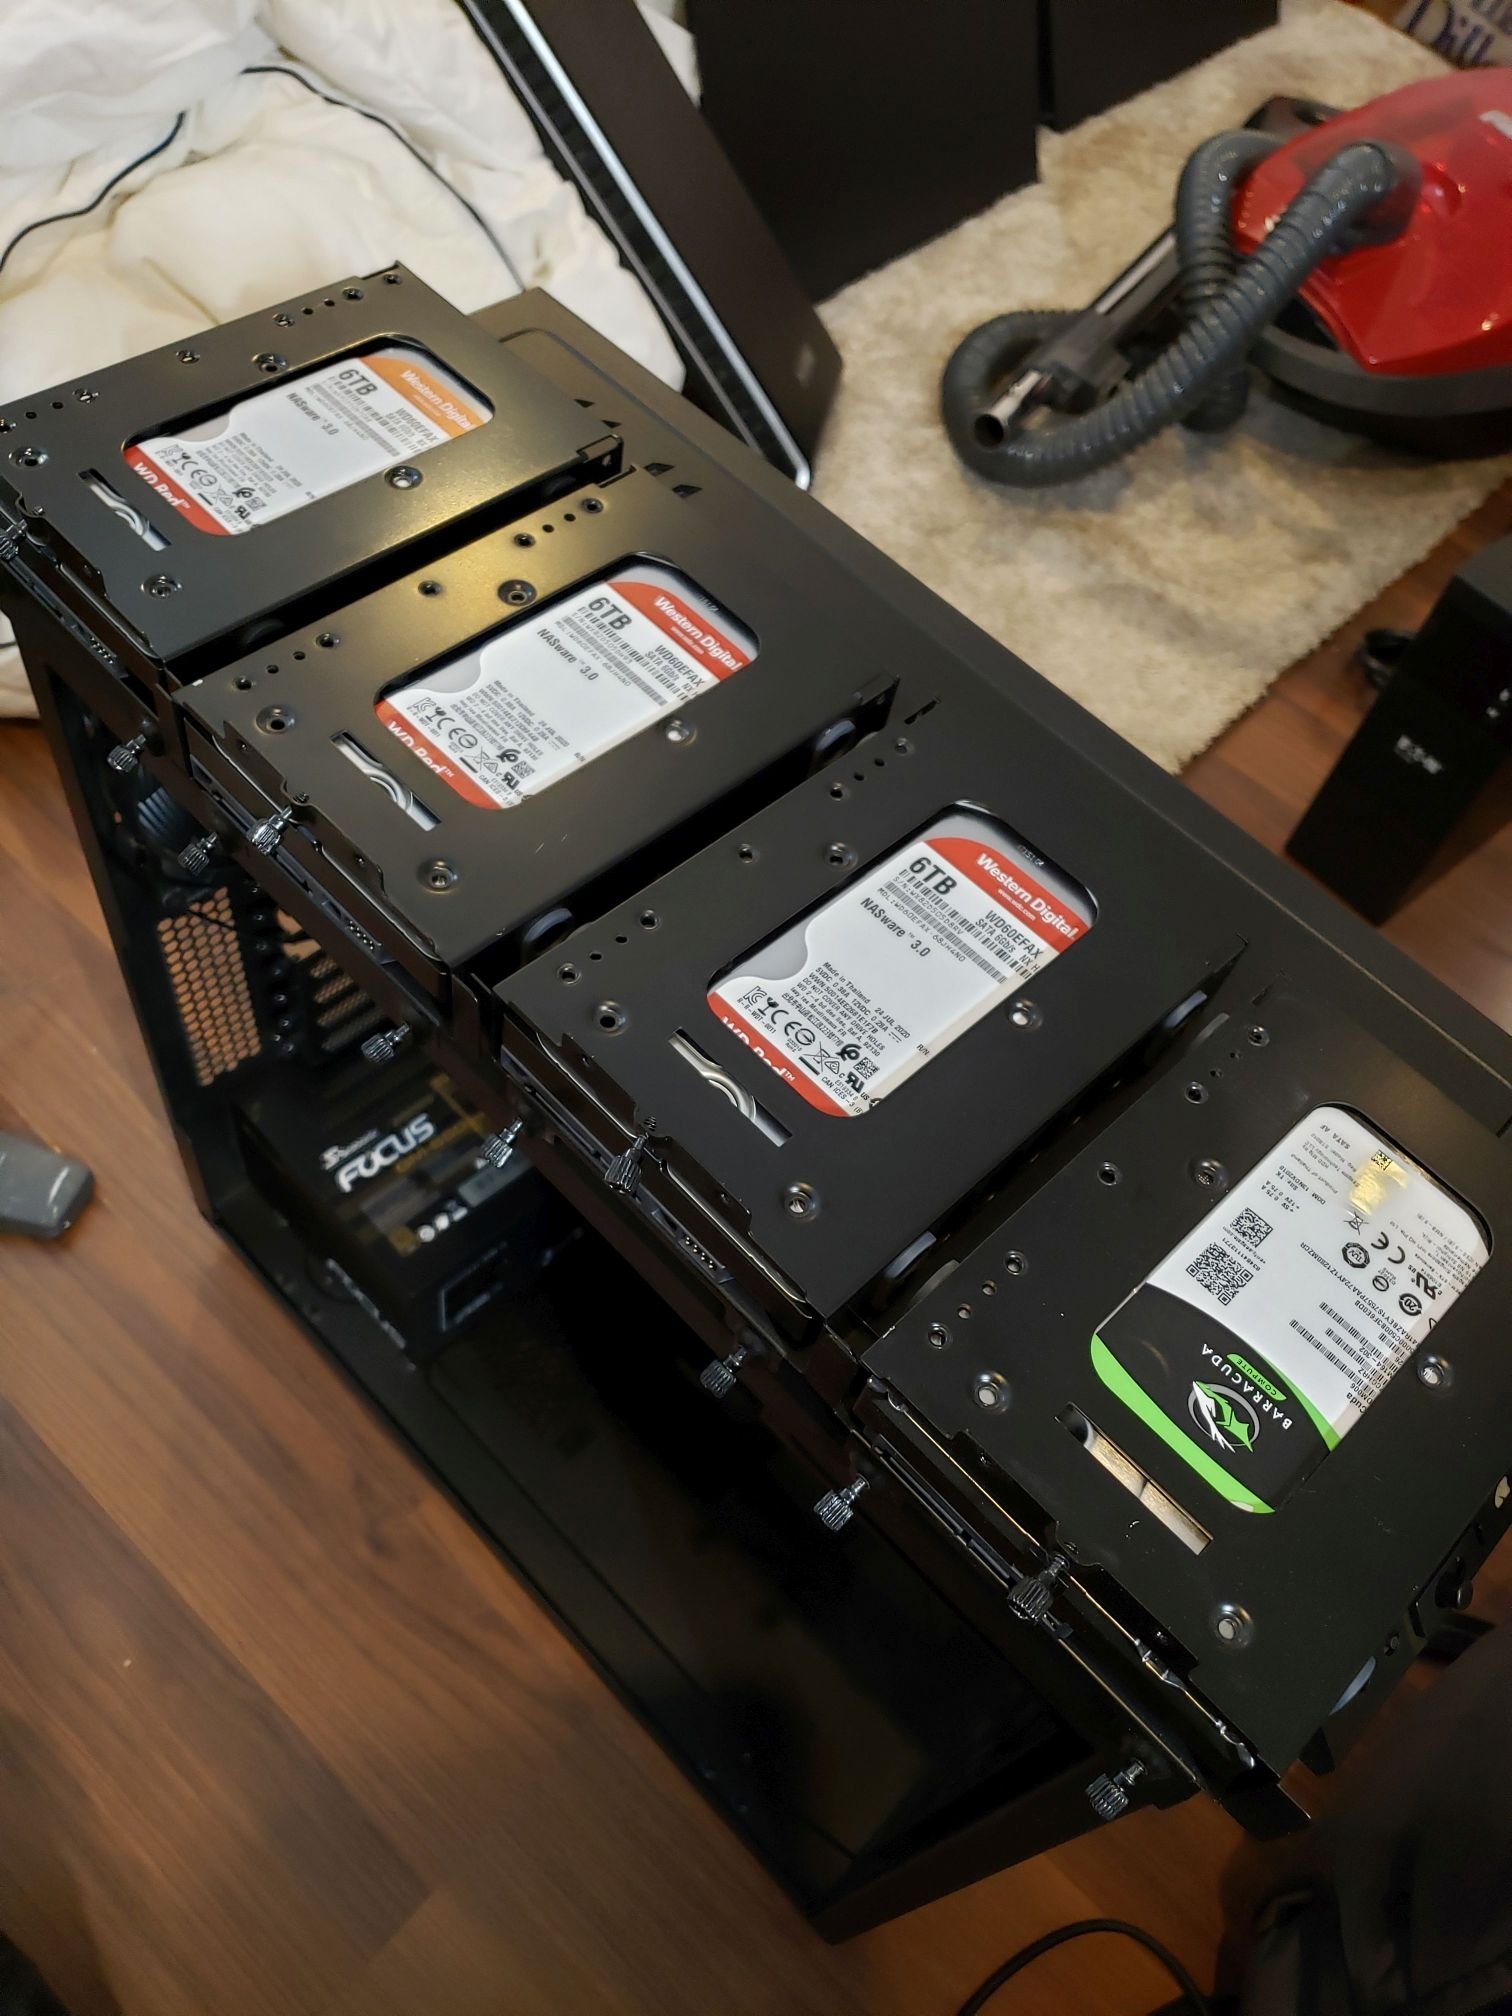
They are beautiful. The Reds are for the media storage and brand new, the green and black is for backups and is being reused from the old server.
Everything is in the case now!

Decent cable management job. Not the neatest but the panel slides on easily which was the goal.
It's alive! Now I can start the setup and transfer of all the data from the old servers.
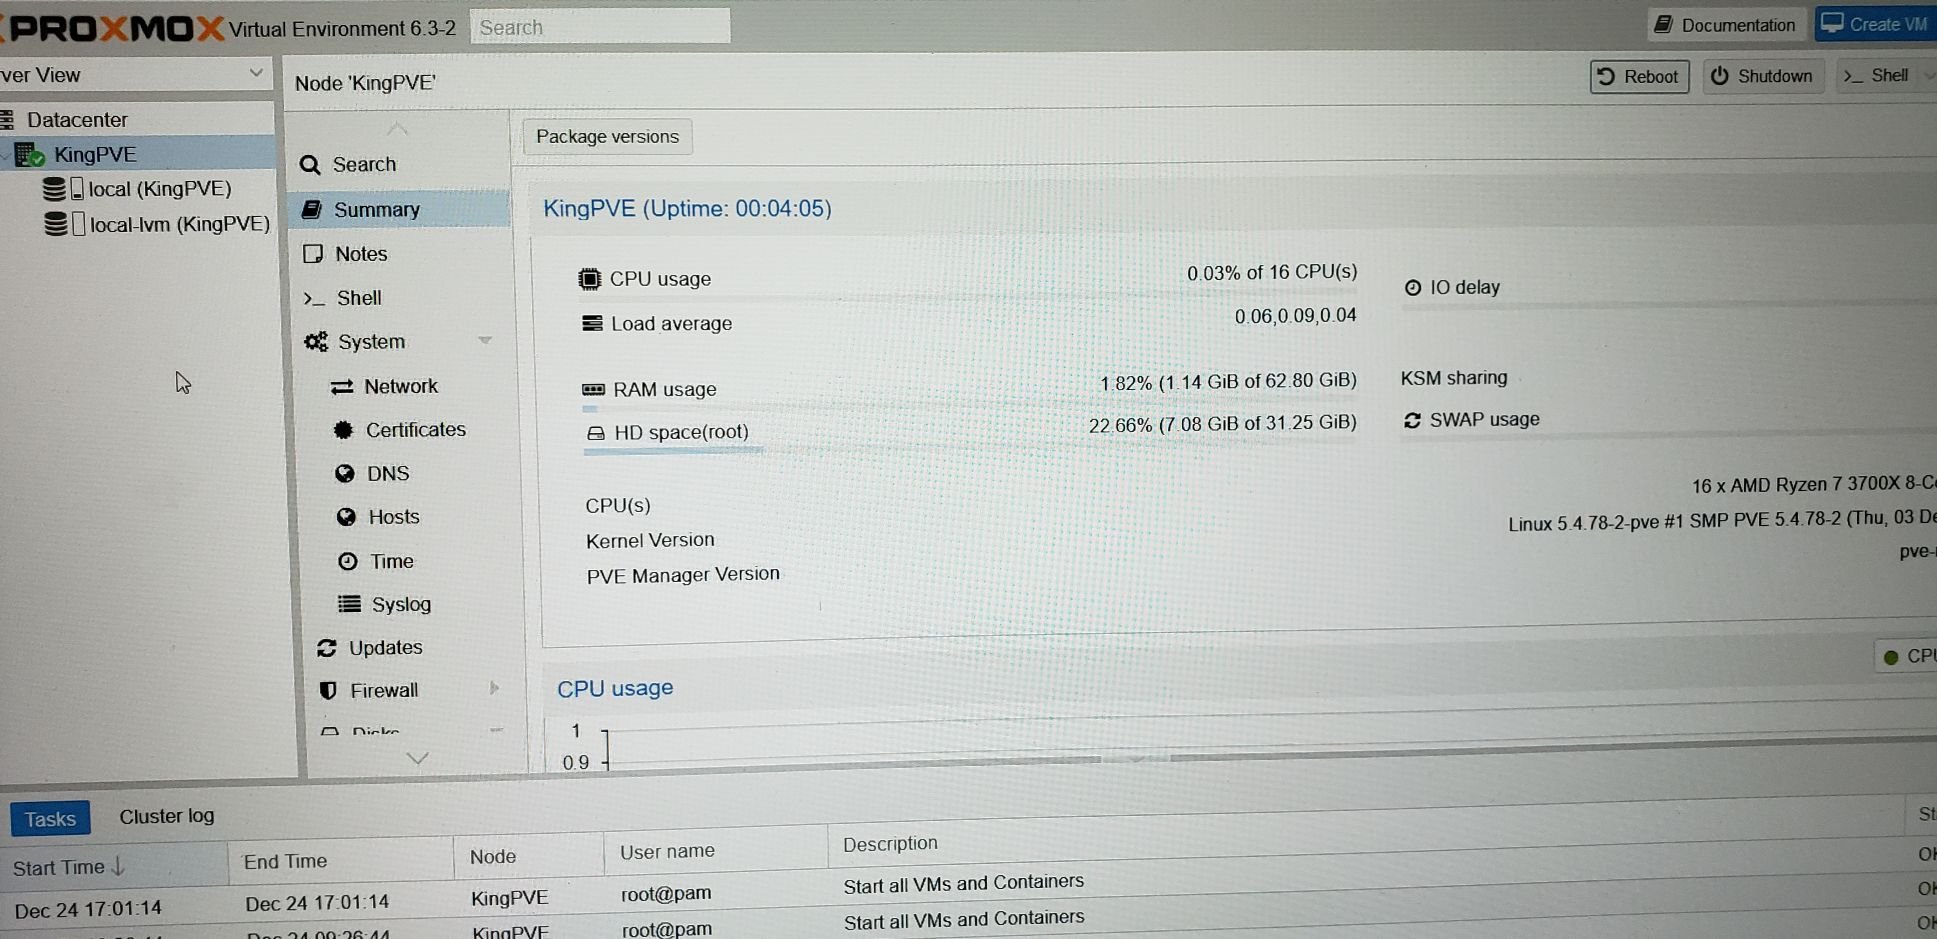
Proxmox, the hypervisor of choice to run everything in virtual machines to make this a multipurpose server.
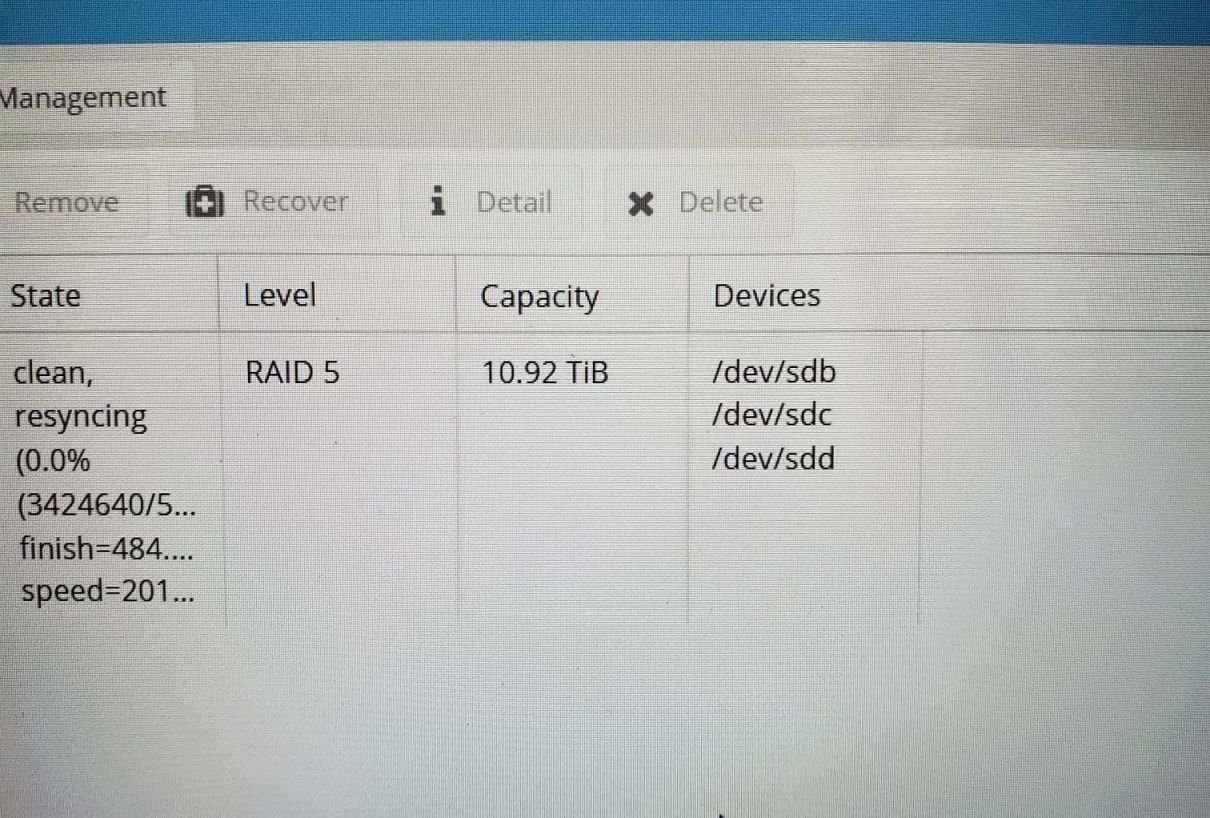
Running OpenMediaVault in a VM to provide the data pool. Nearly 11TB with redundancy for media.
Final Thoughts
I hope you enjoyed reading my little write up about the server upgrade. It was certainly a lot of fun for me. I am very excited for the upgrade and to test the limits of the new hardware. Obviously everything will be run within a virtual machine or container so there will be minor overhead but it isn't that much of an issue with modern hardware. If you have any questions or want more info let me know and I am happy to talk about it and answer questions. Now I have to pay my dog tax.
Dog Tax
These fluff balls kept me company while I worked on the server and took breaks and whatnot. They are going to miss me when I go back home.
Salem (Grey), Dax (Black), Jazz (Black & White).